
We grew White Sonora Wheat over winter, and now that it’s May in Southern California, it is time to harvest. Our 4×4 foot raised bed was filled with tall, slender wheat sheaths that turned progressively more golden brown. The seed heads began to nod, and that’s when we knew it was time. Here’s how to harvest your own patch of heirloom wheat:
Admittedly, 4×4 isn’t very much room for growing wheat. Ideally we’d have 100 square feet for the task. At this point, it’s more for the biomass (all that great carbon material left over as food for the compost bin) than for the wheat itself. That said, growing an heirloom grain is always a tempting nerd-appropriate adventure. Perhaps after this you will want to give it a try.
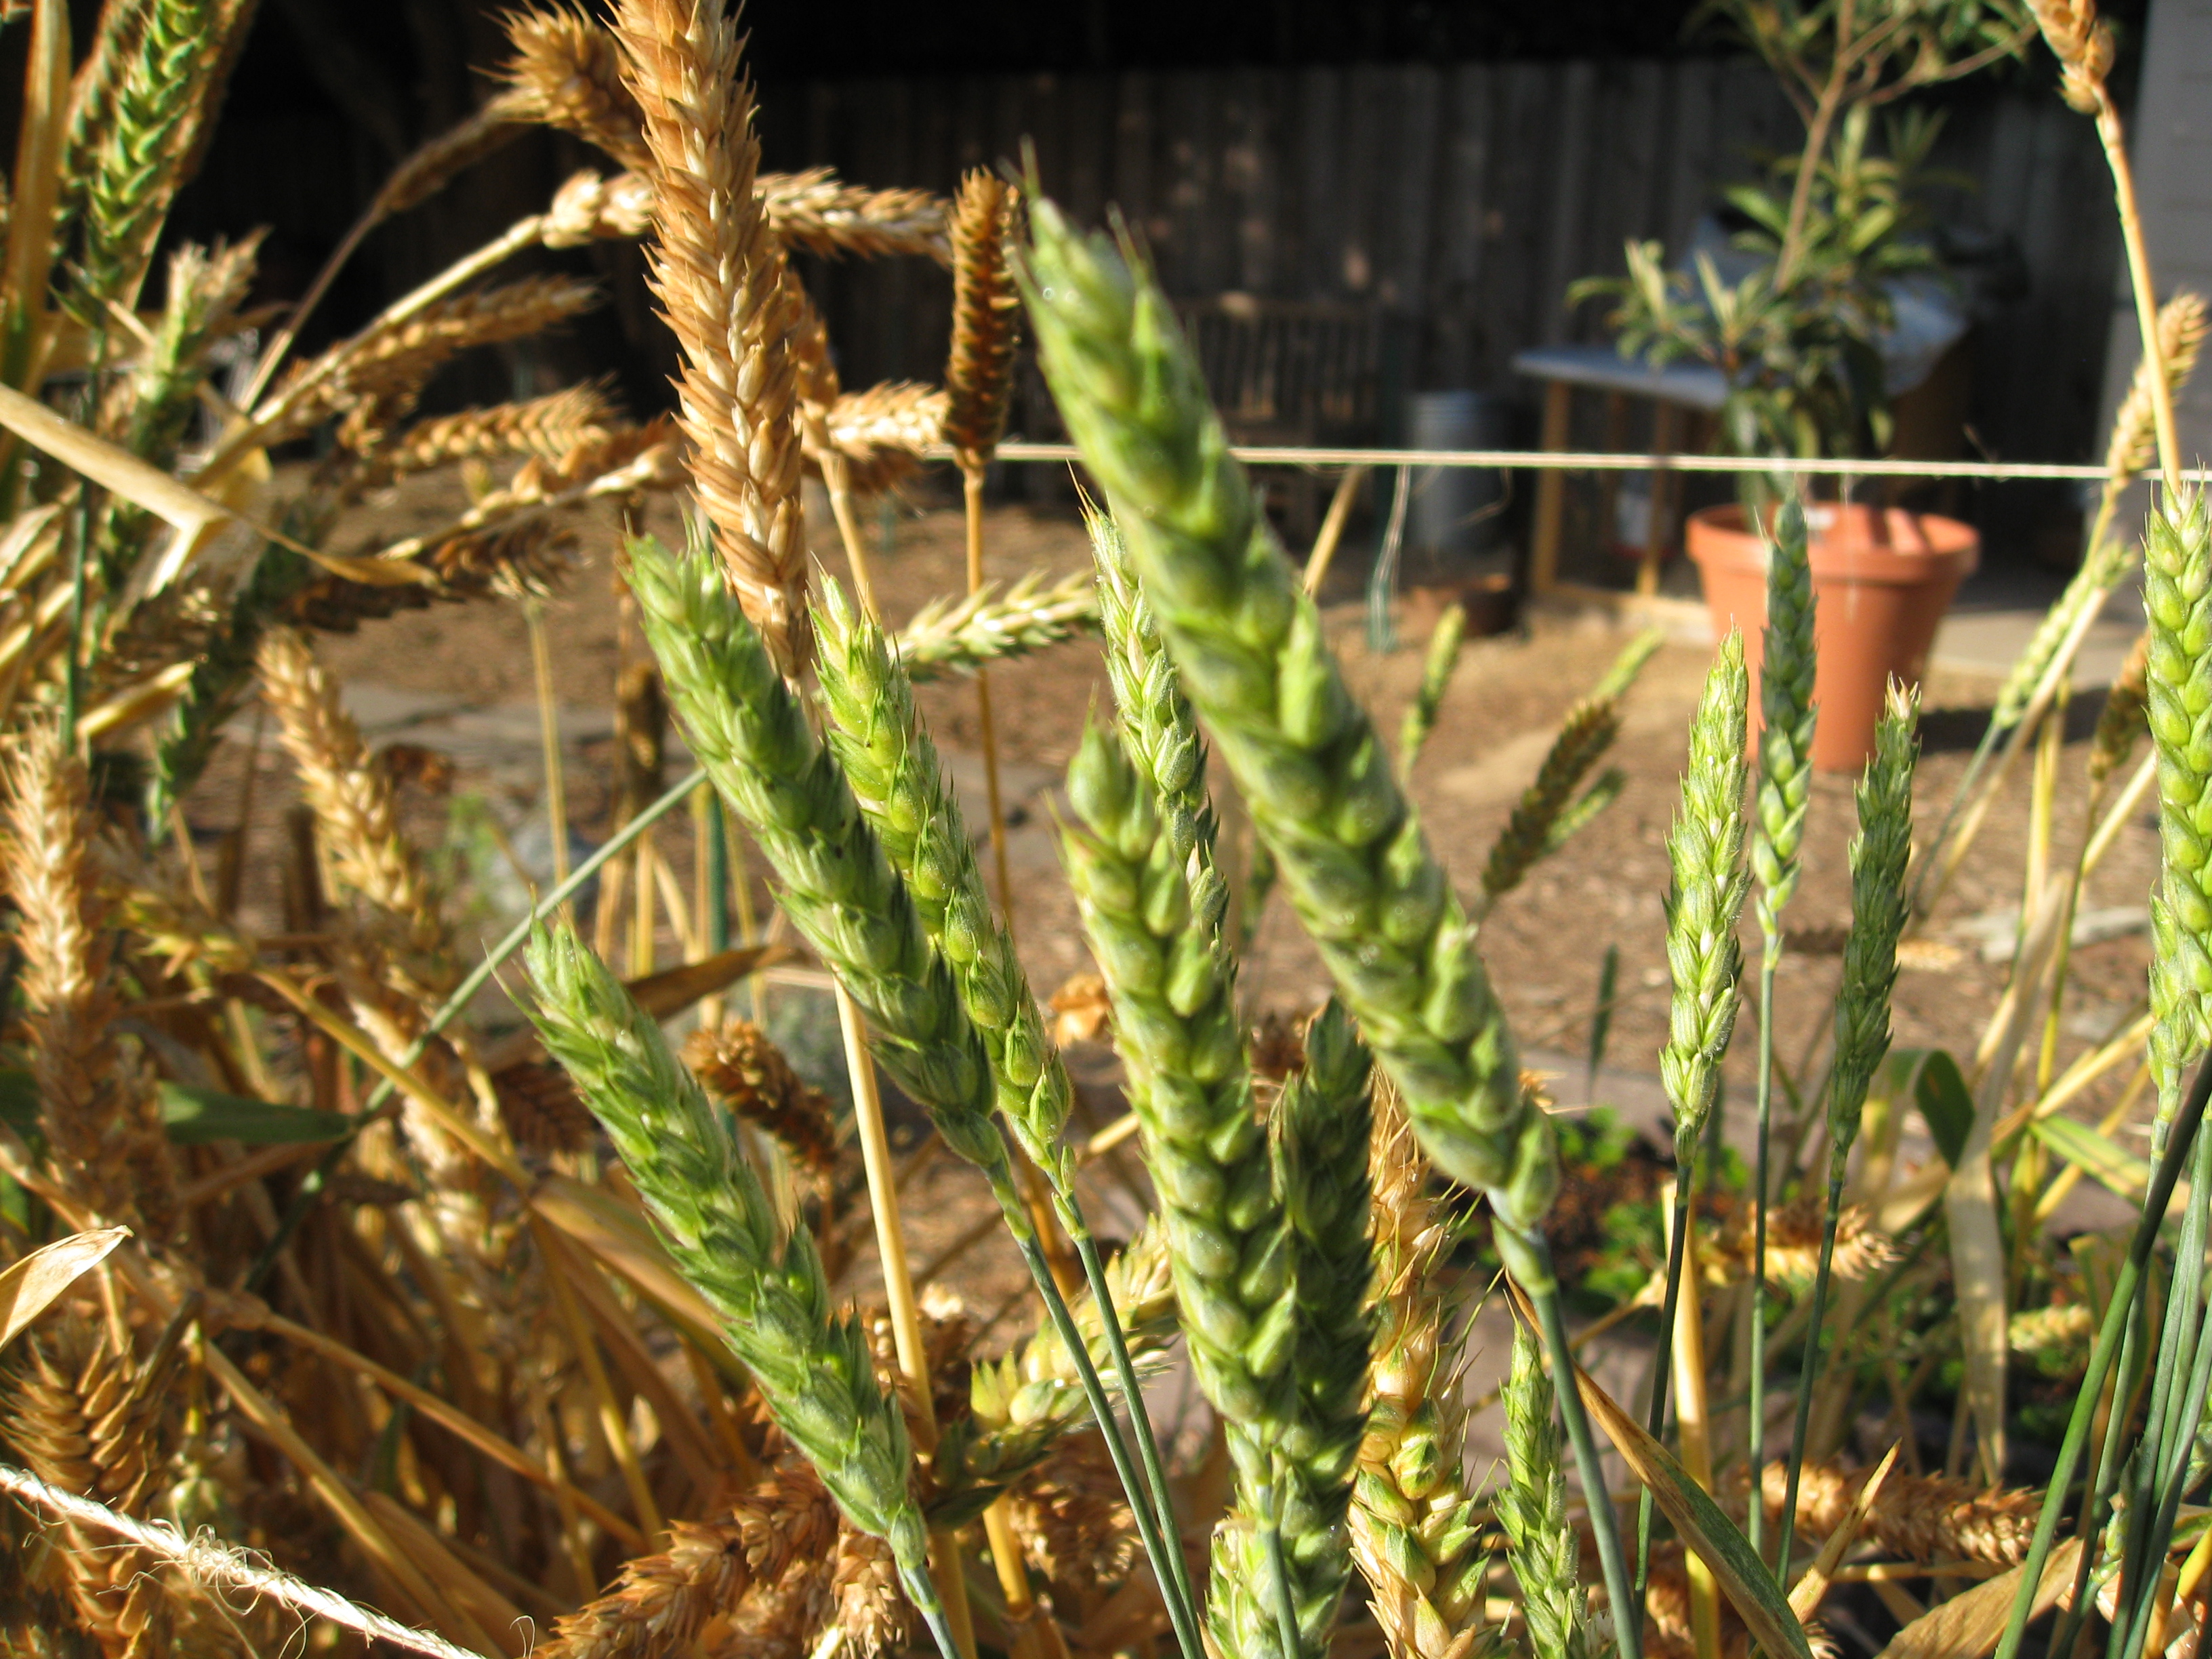
White Sonora Wheat grows green, then dries to golden brown.
We had to corral our wheat with twine around the raised bed to keep it from spilling out into the pathway. A rebar stake in each corner and two levels of twine kept the crop upright.
1) Color – The first sign of readiness is color. Look for spikes with no traces of green left.
Not ready
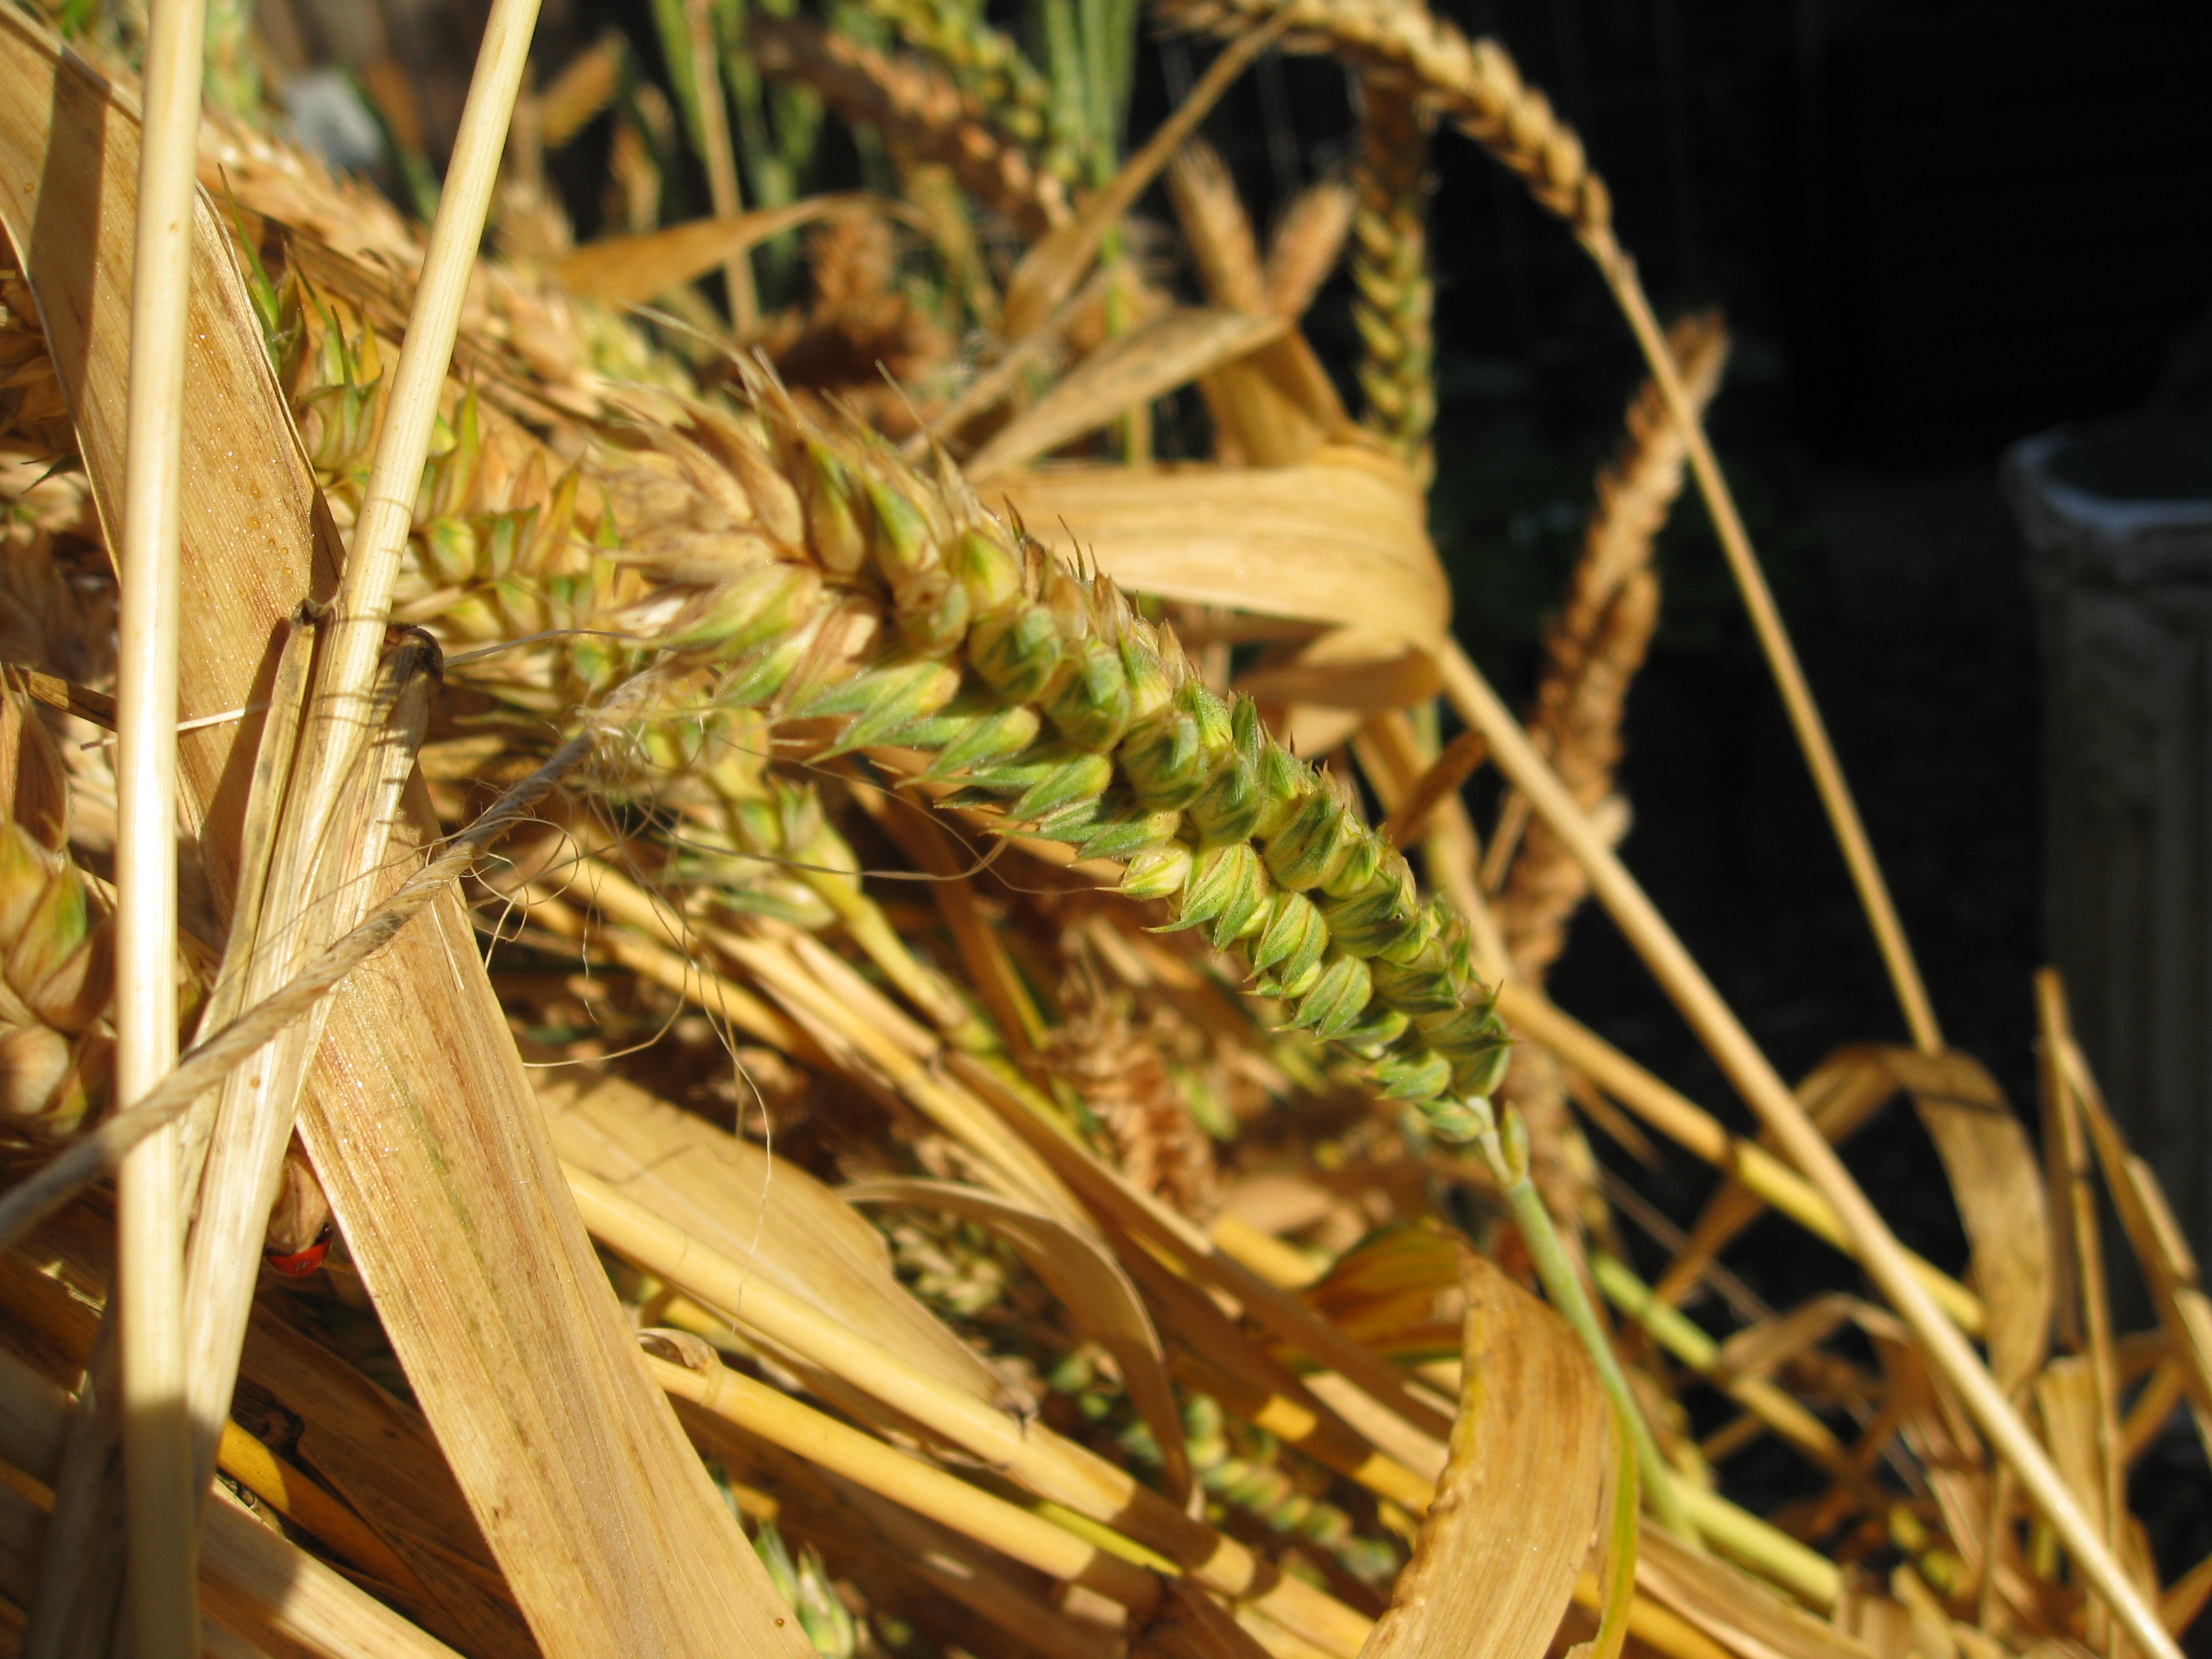
Still not ready
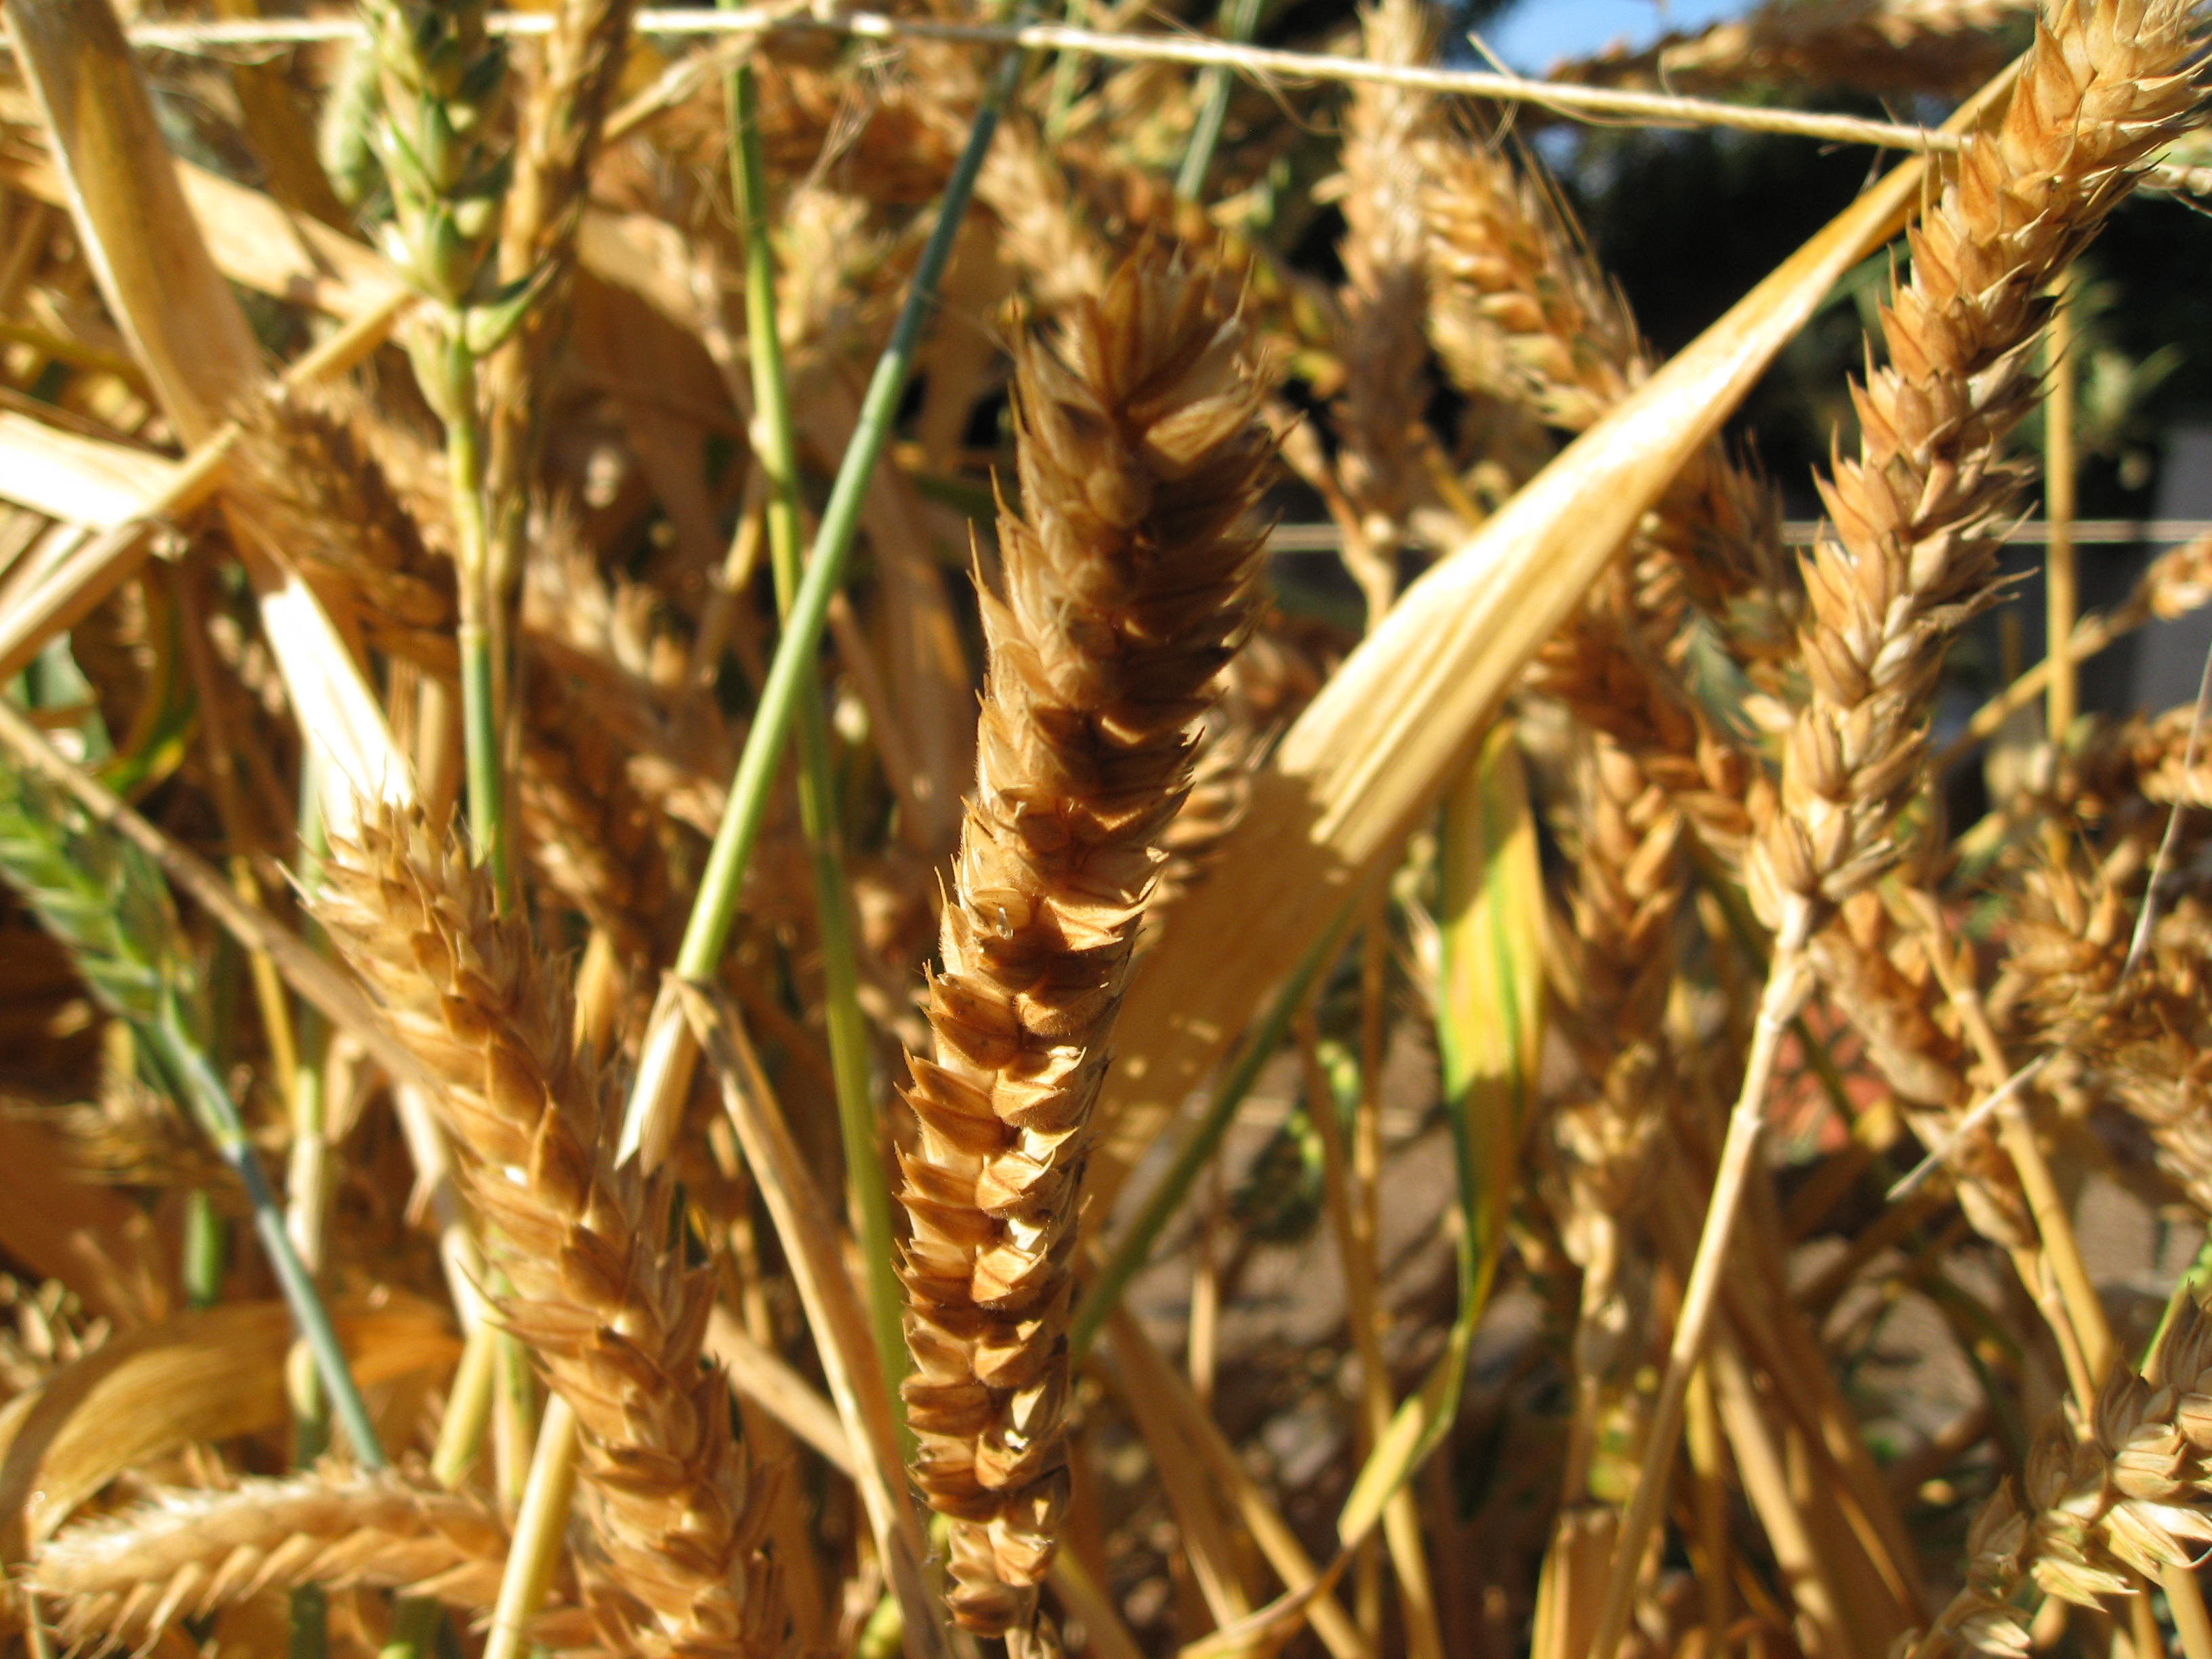
READY!
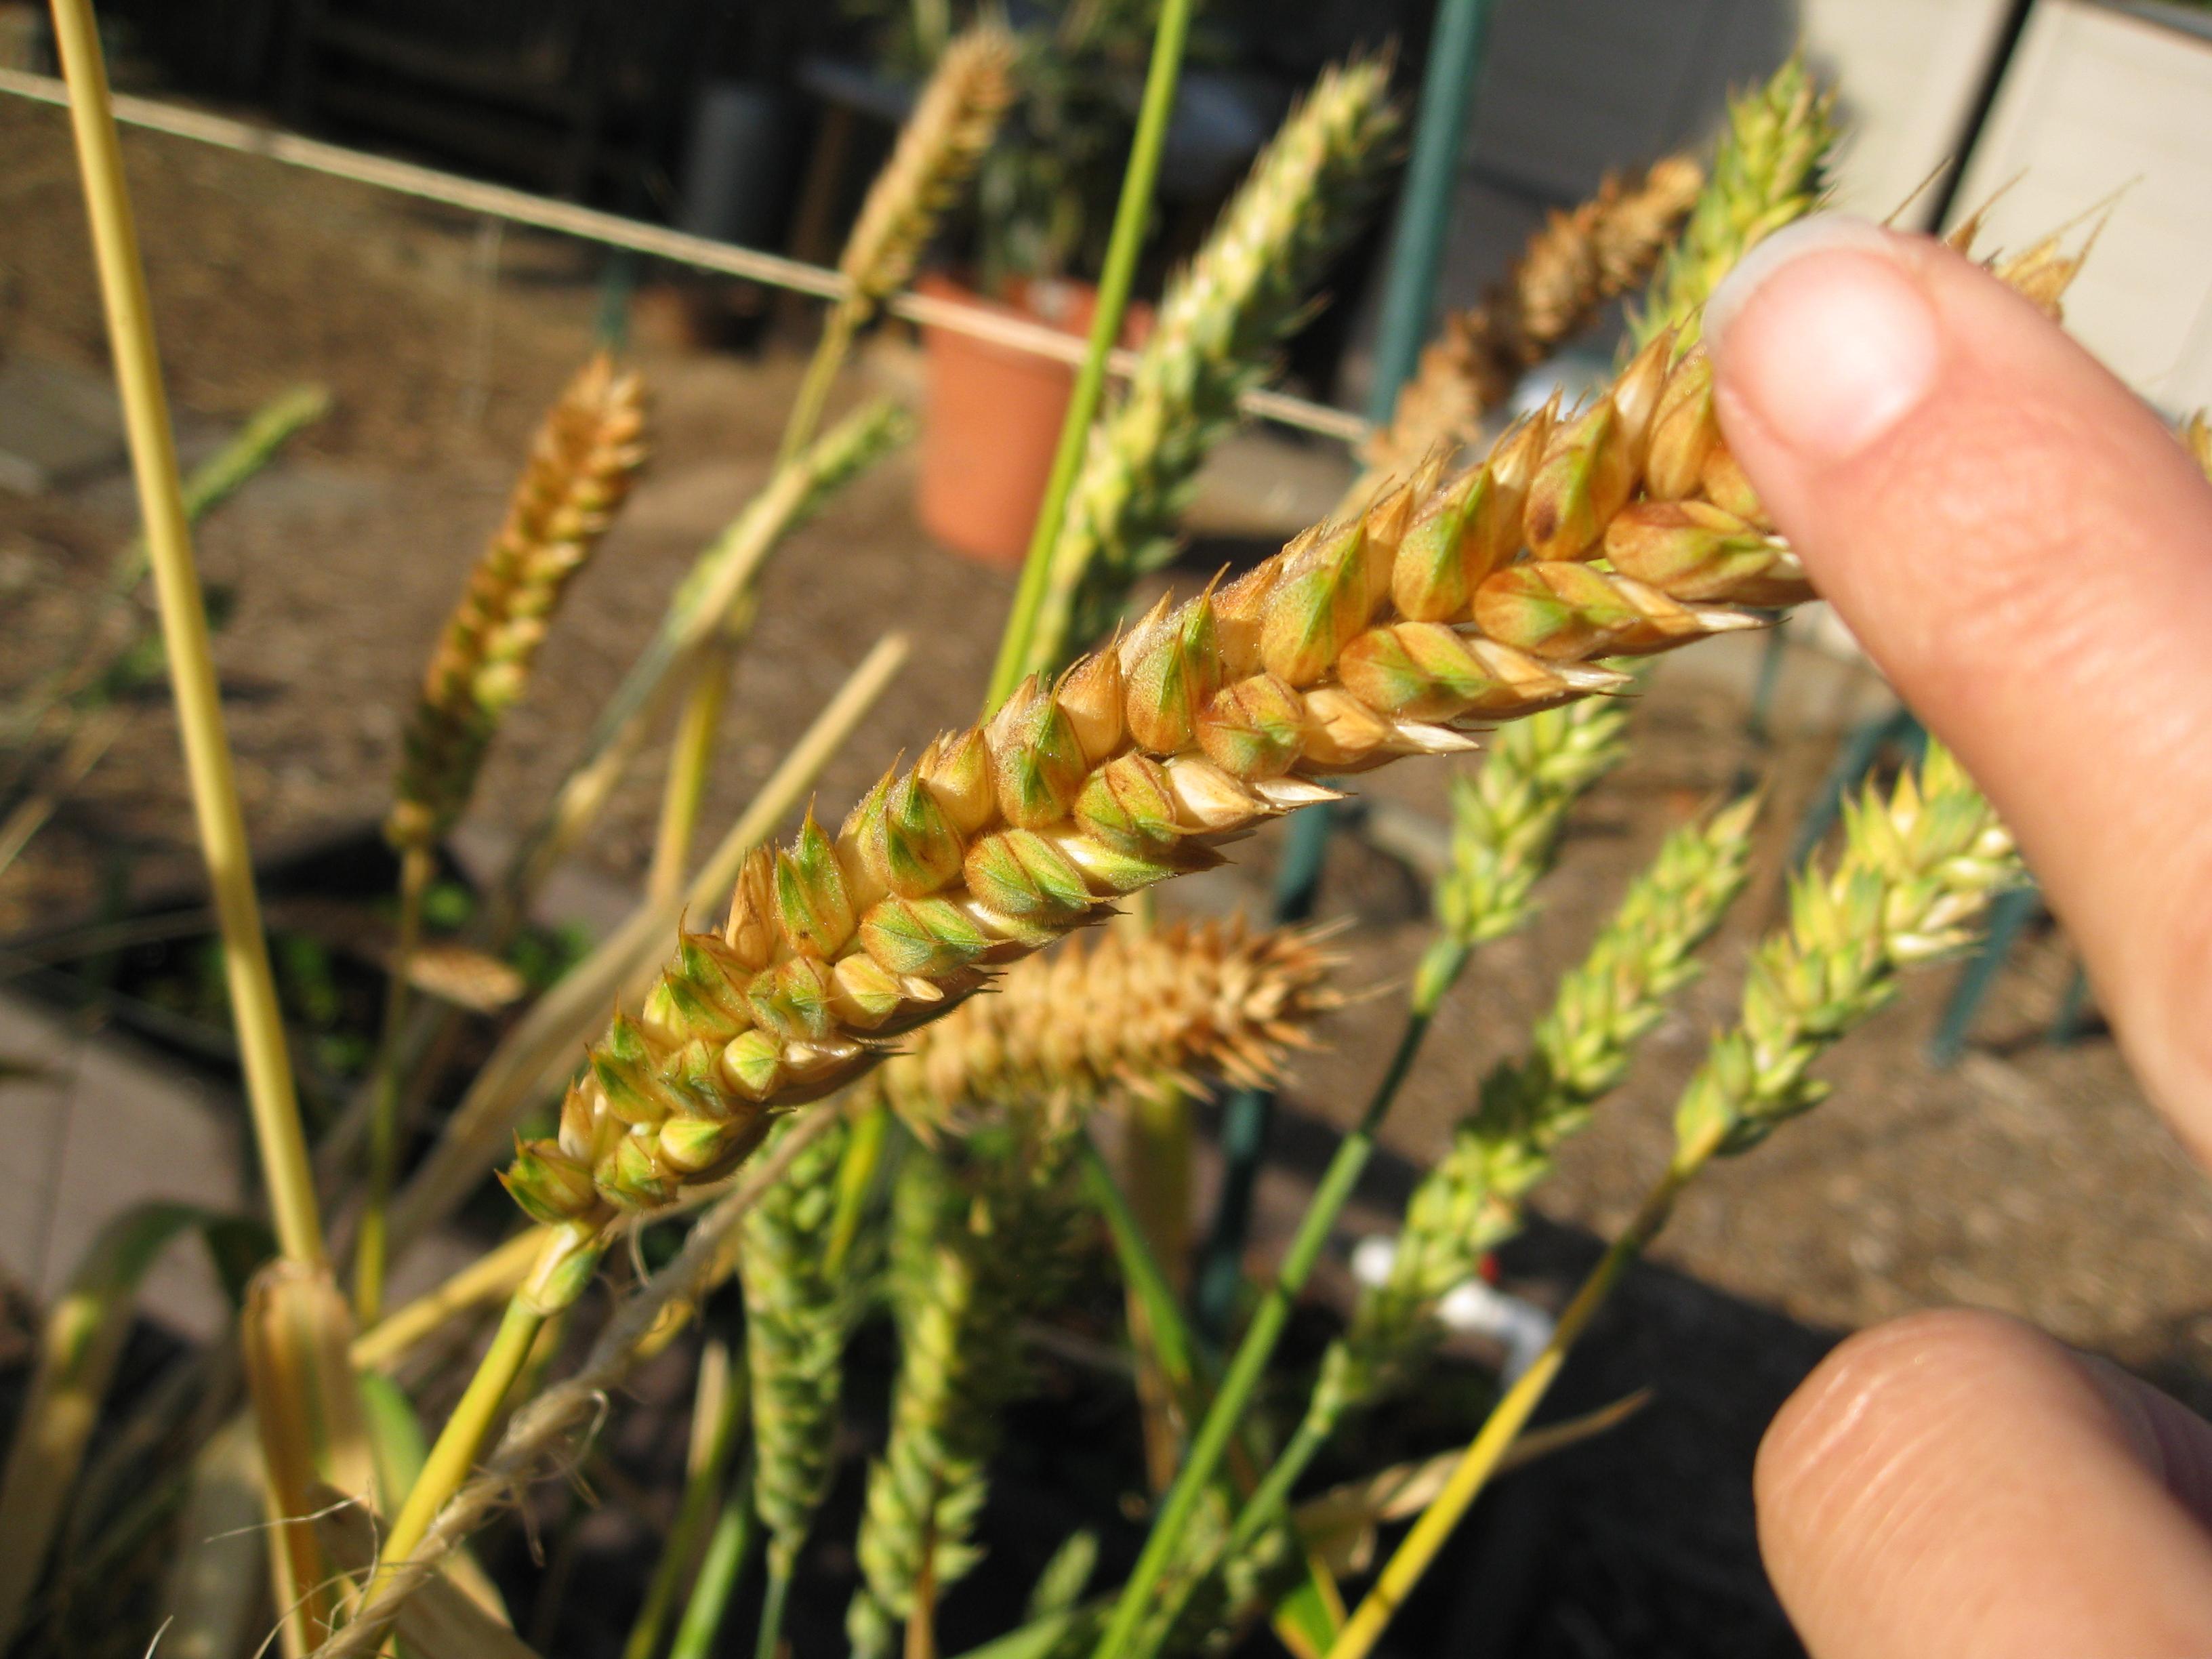
2) Bite Test – The next thing to check is bite. Place a kernel of wheat in your mouth and bite down, it should crunch. It should not be soft or chewy. If it’s chewy, leave it awhile longer to dry down.
3) Nodding – Seed heads will start to nod or bow on the stem when they are ready to harvest. That gentle arch will tell you it’s time to pick them before the birds do.
4) Pick it – Next cut individual seed heads off, leaving about 10″ of stem. If you happen to have more than a 4×4 square foot bed of the crop, use a scythe and cut stalks down near soil level.

First harvest as the crop began to dry down.
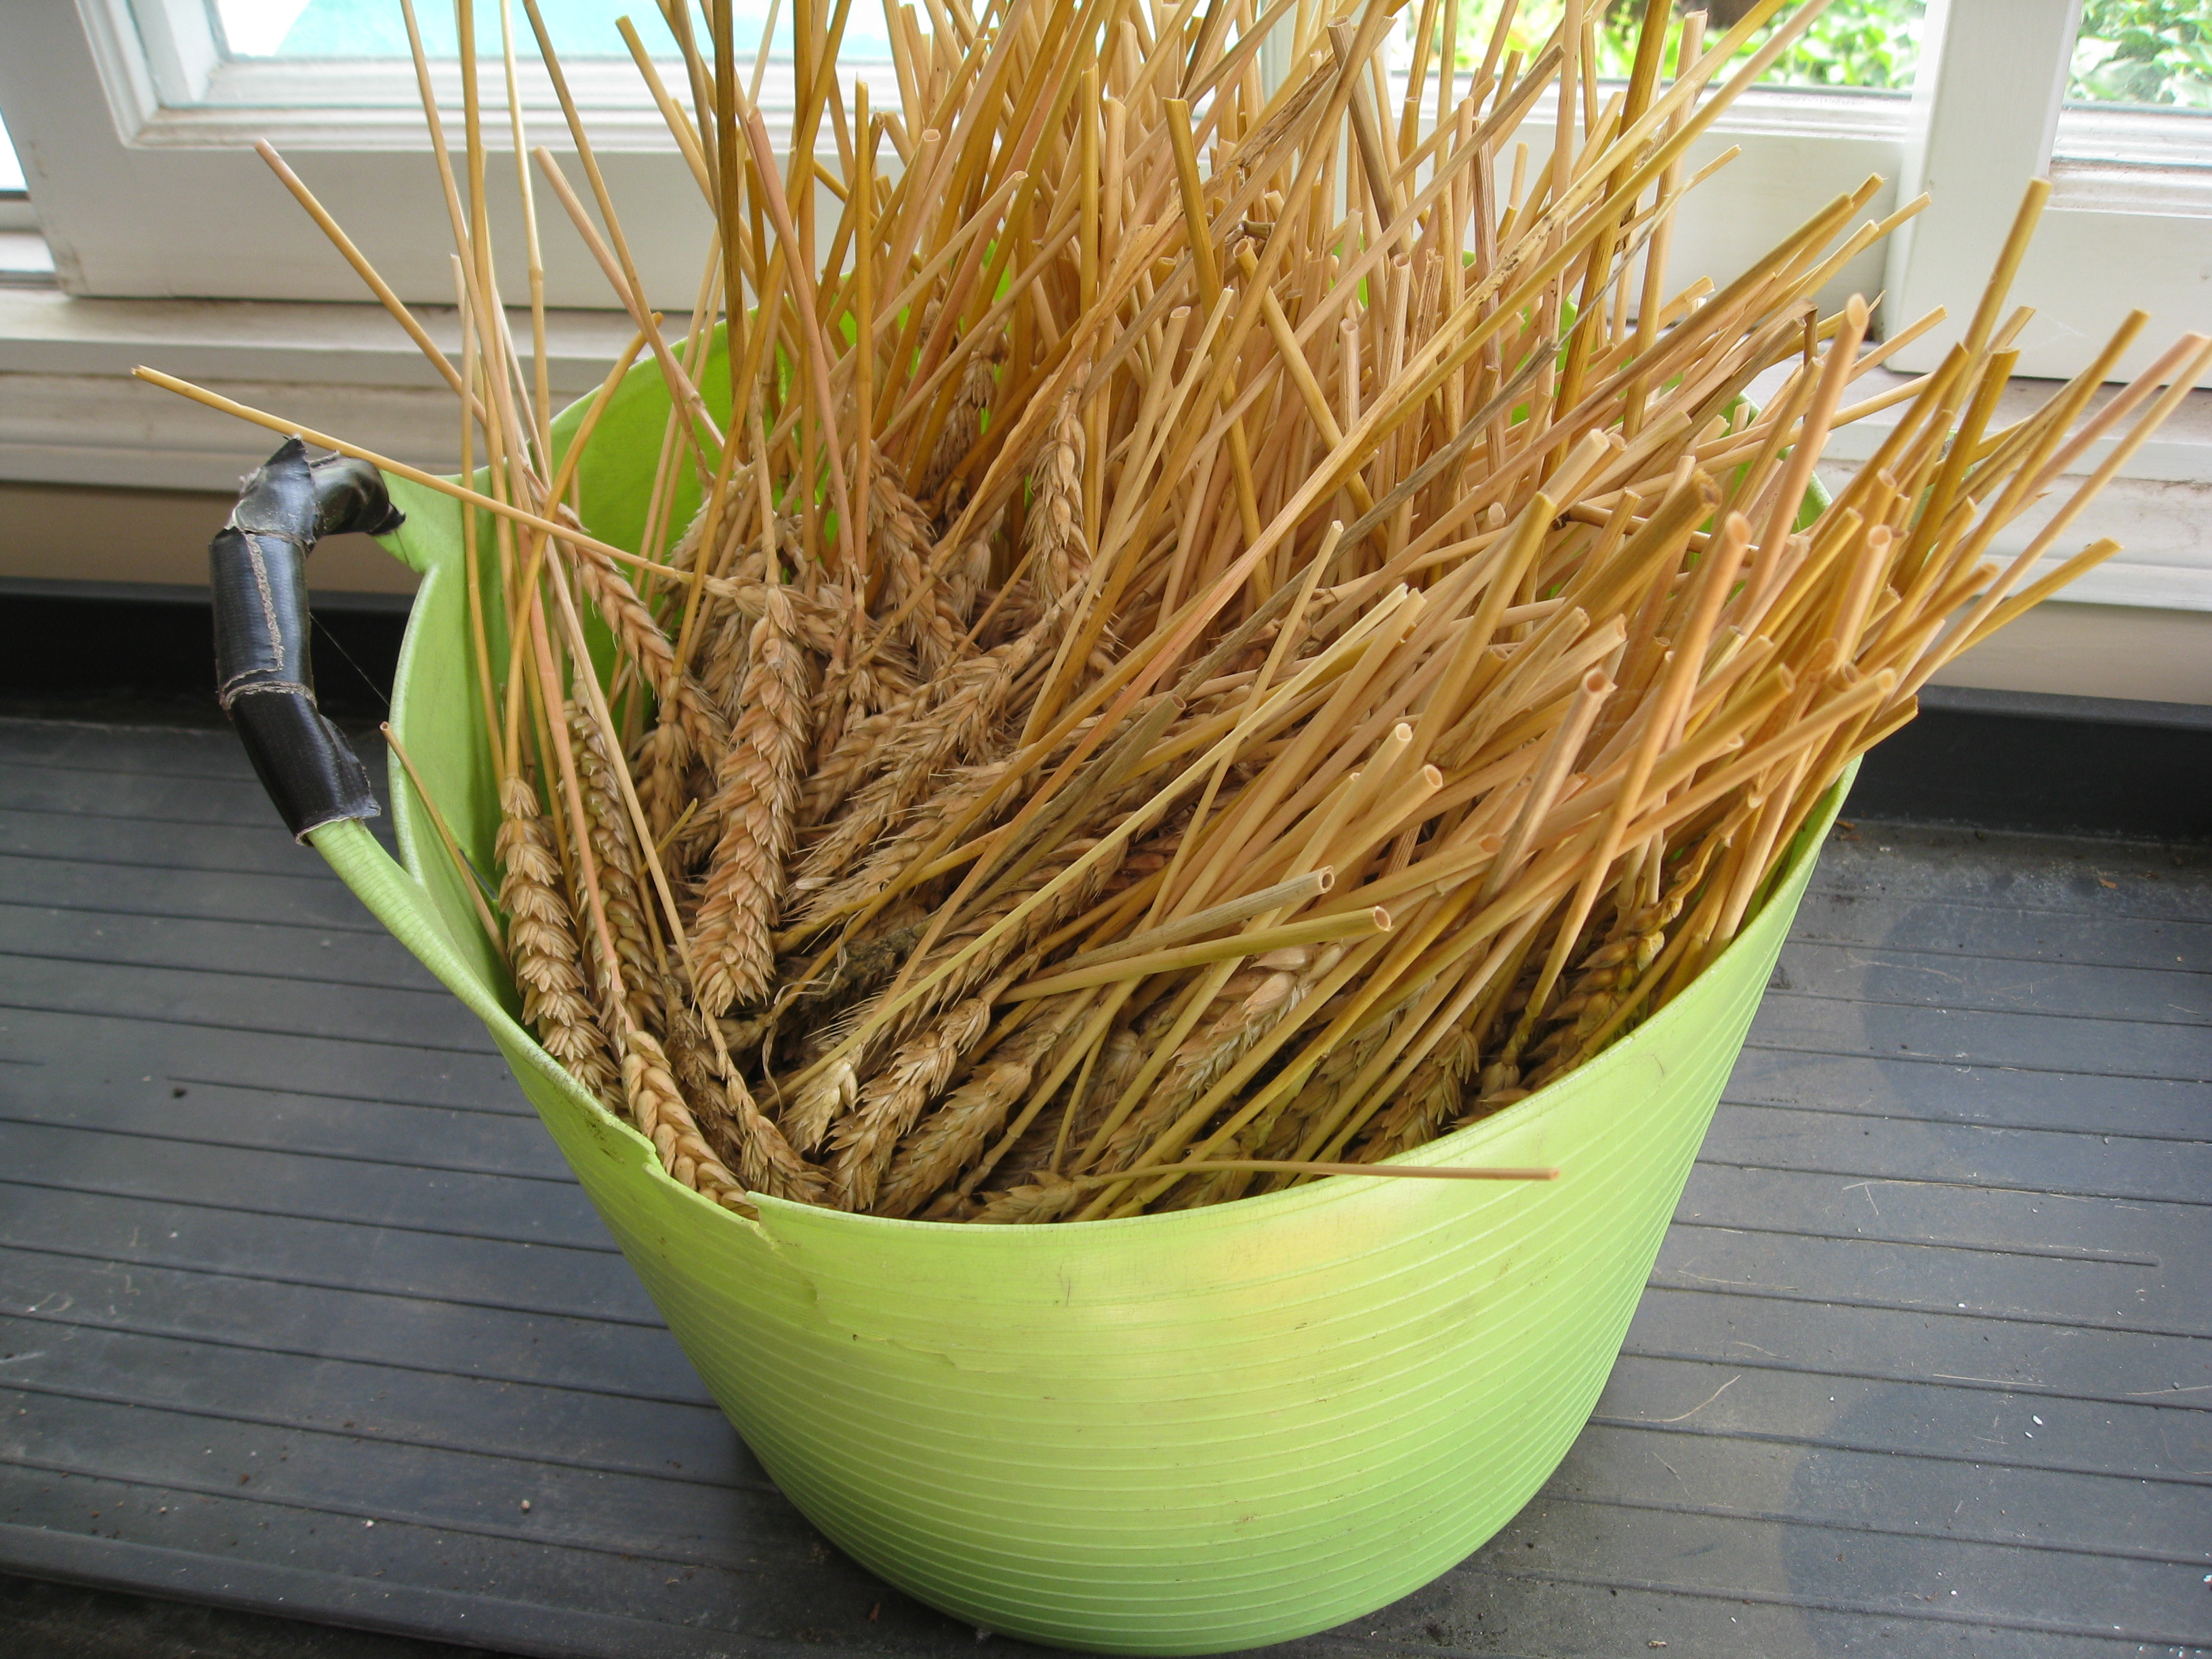
Our 2015 harvest filled a 3 1/2 gallon bucket.
Next it’s time to thresh and clean the grains.
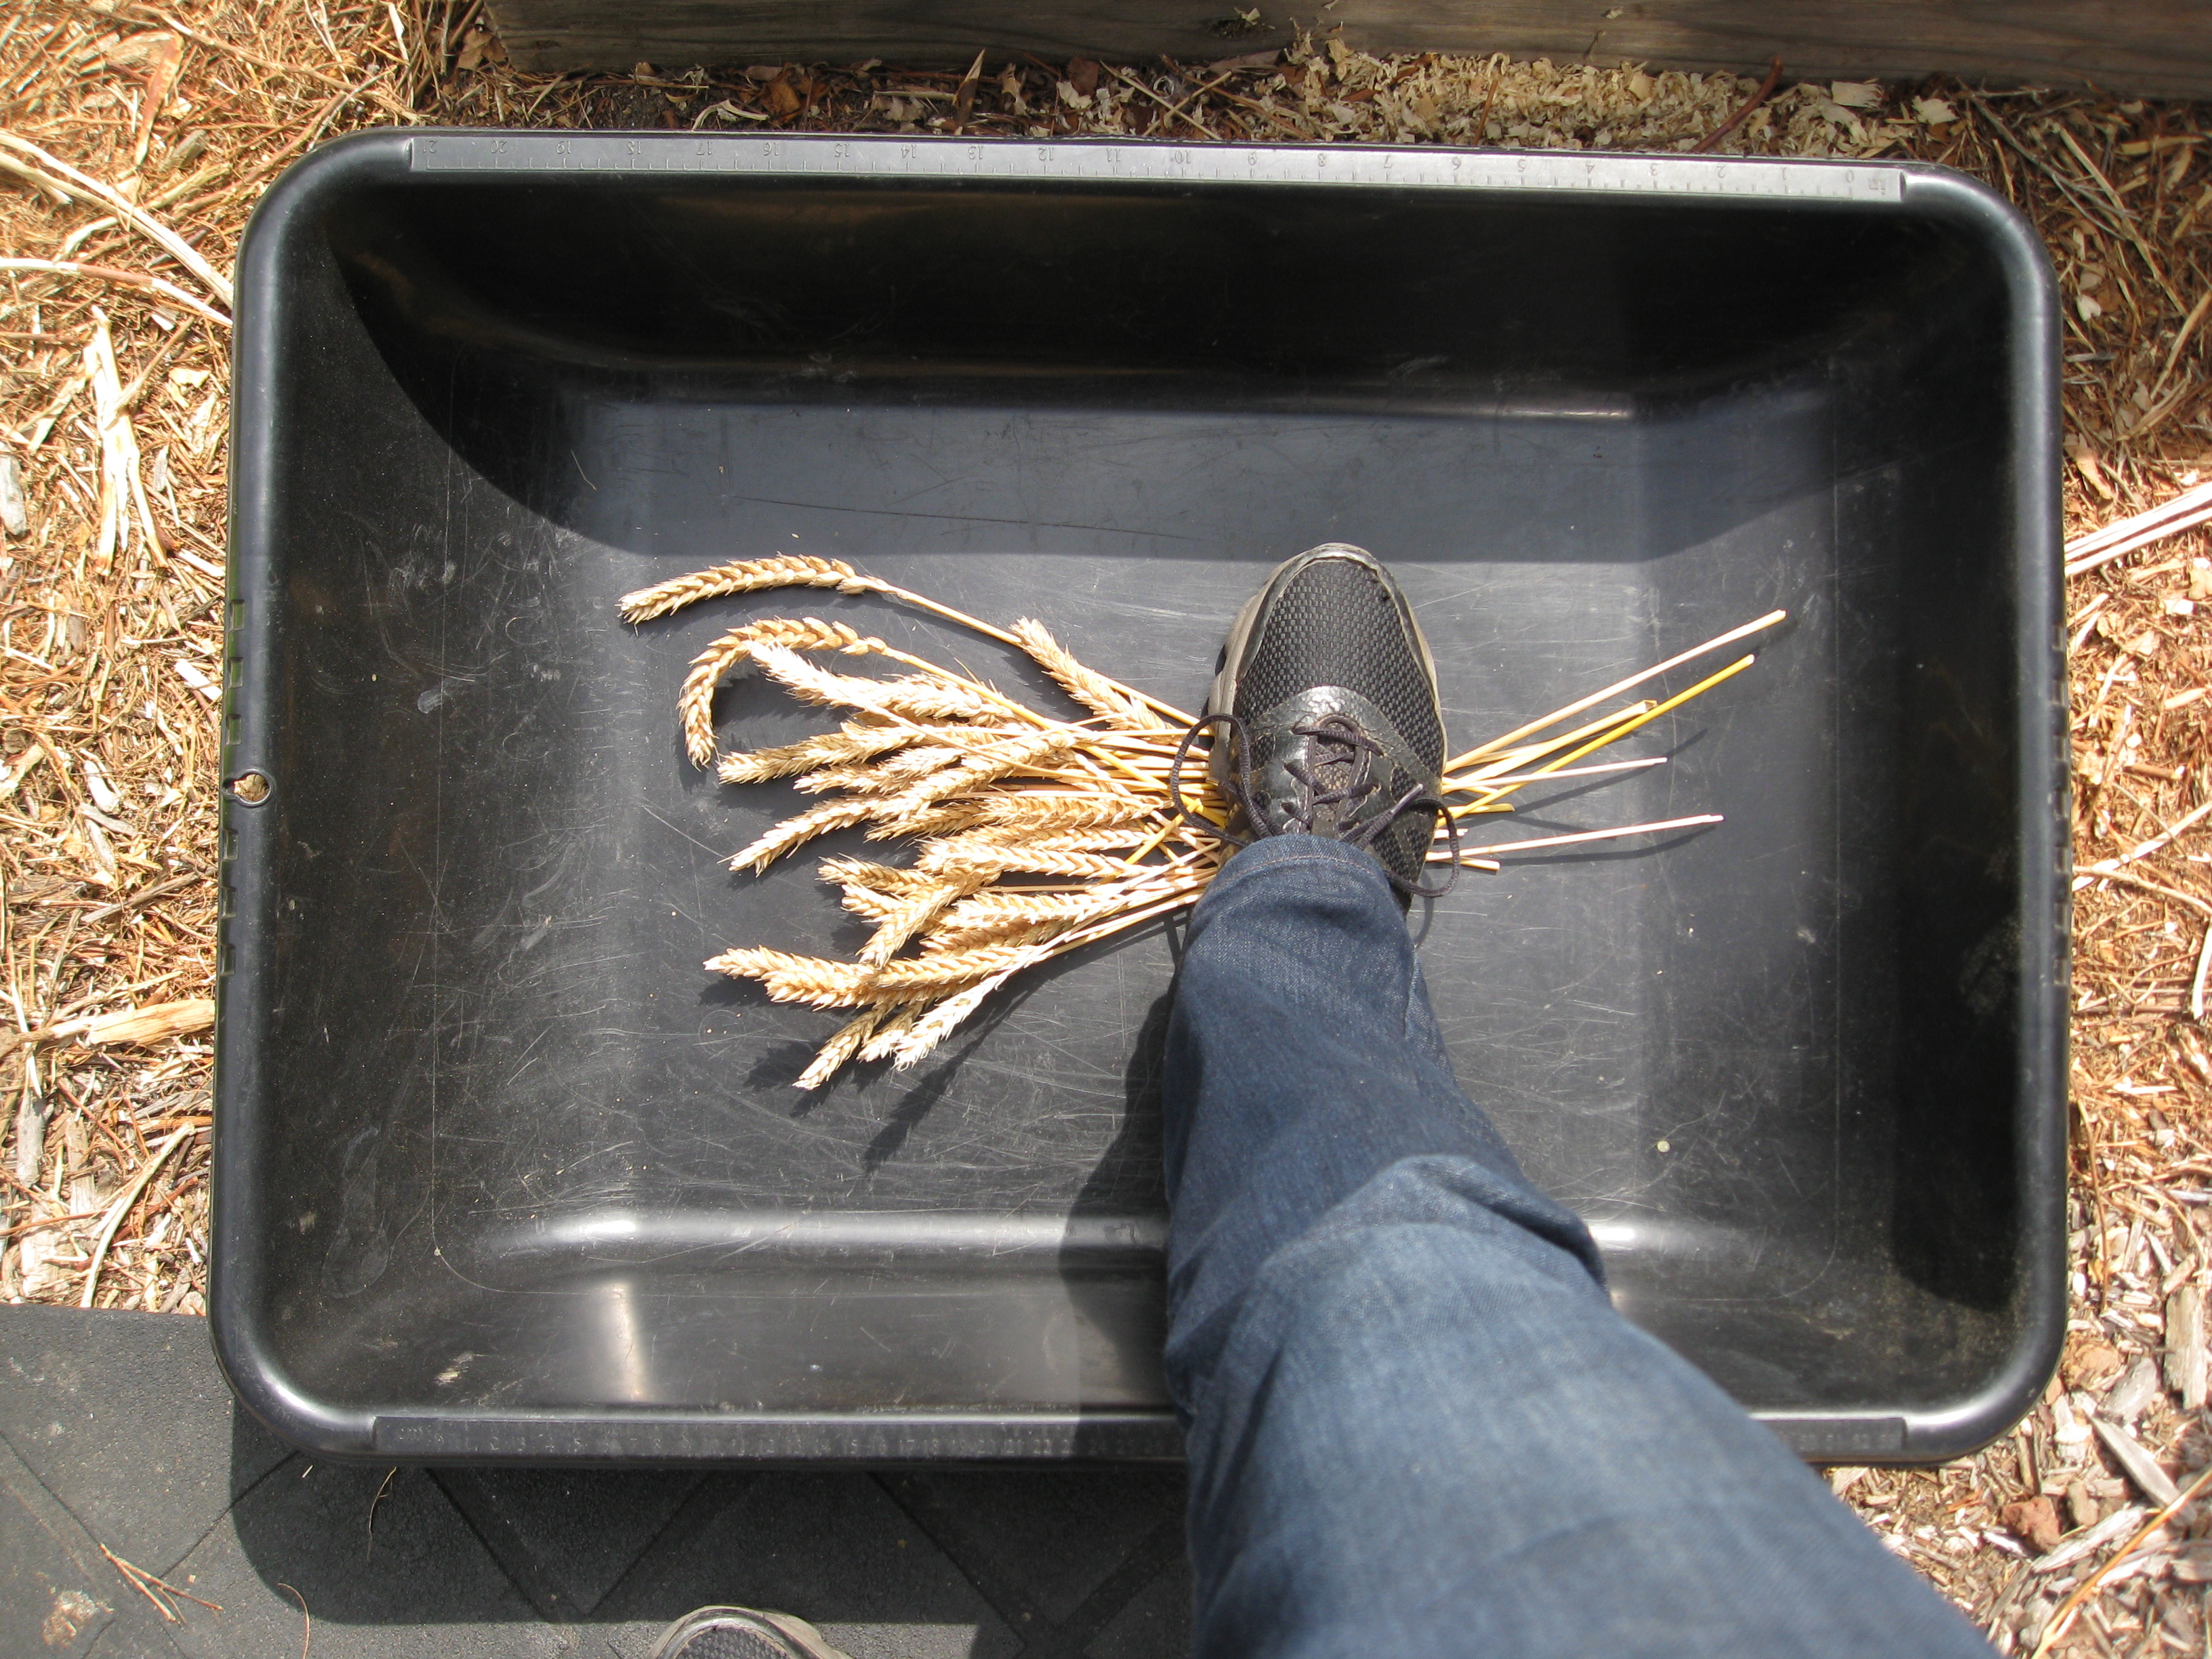
4) Threshing – Small-scale threshing is best done with a thresher like this, but since most of us aren’t going to invest in a piece of equipment for one job (though after doing it by hand you might think differently) we’re going to share the “slow-food method.”
Take bundles of wheat and place the stems under one foot in a trough like this…
Threshing removes the outer seed covering from the grain.
Next, stomp and shuffle your other foot over the seed heads.
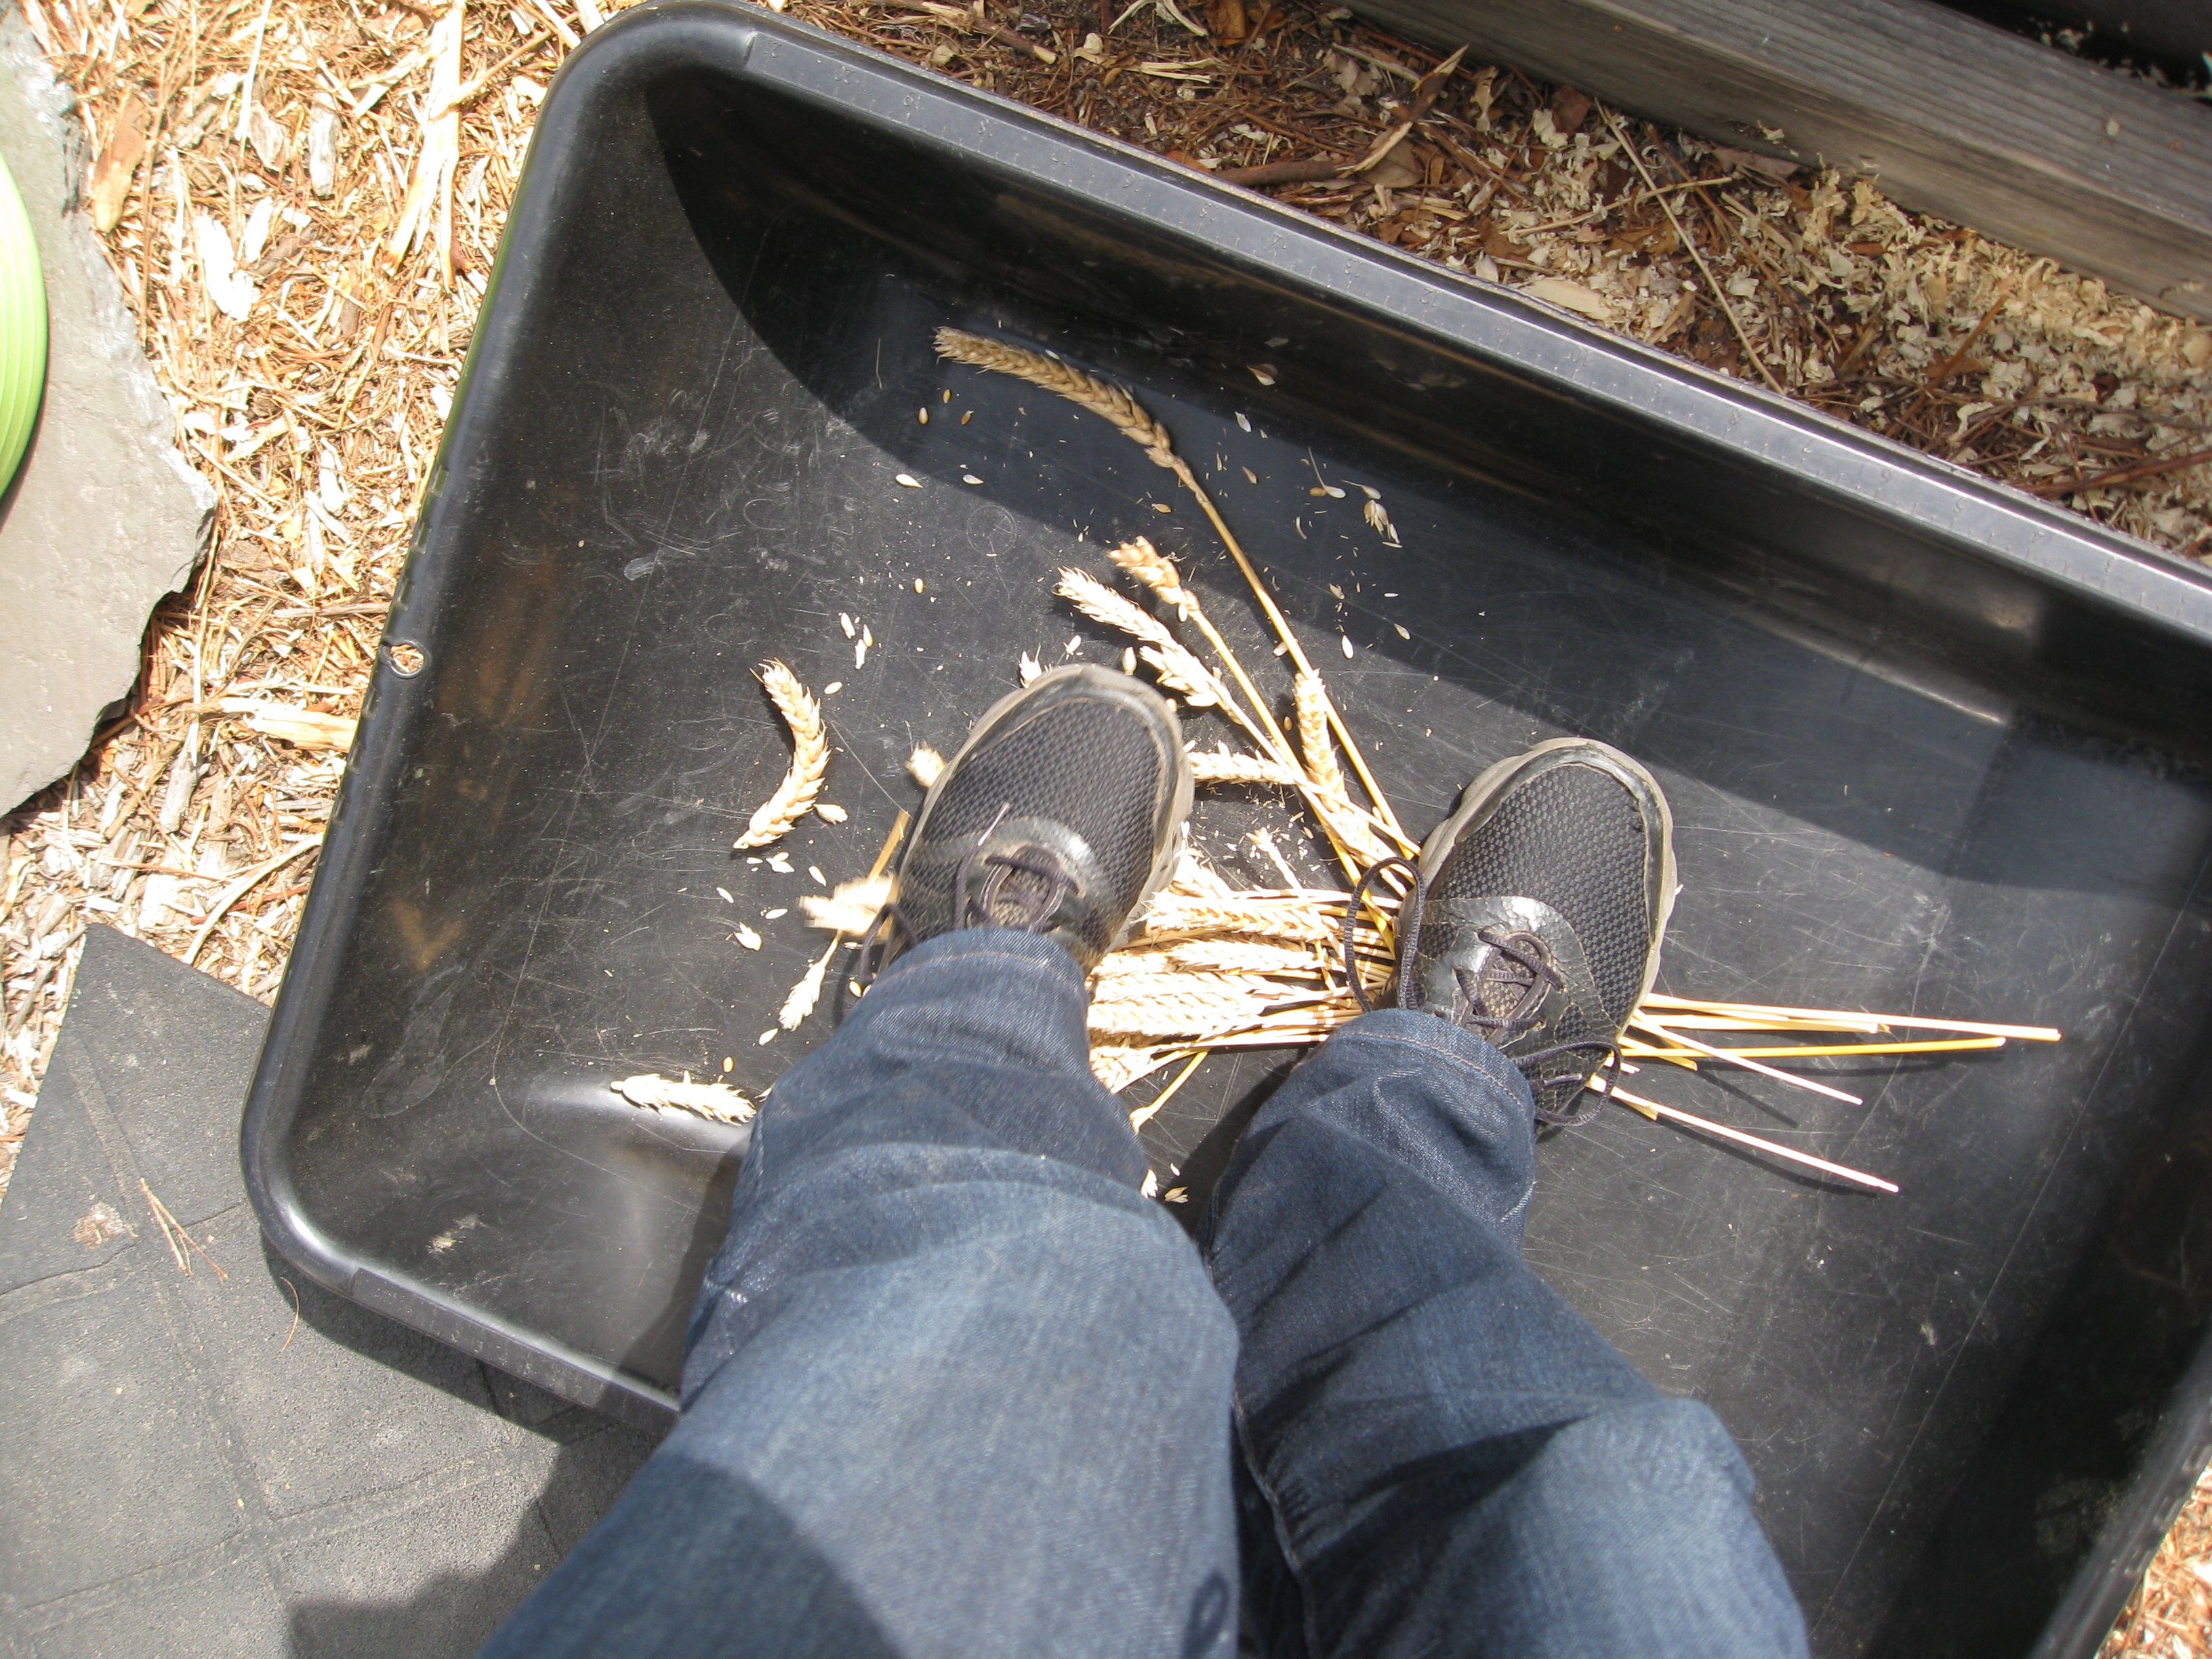
Grains pop out of their casings. You can also place stems inside a pillow case and beat it against the ground.
The result, after burning many calories, is loose grain and plenty of chaff. There may still be a few grains stuck inside their sheath. Friends of ours have said the best thing to do is put on a good movie and pick out individual grains while you watch.
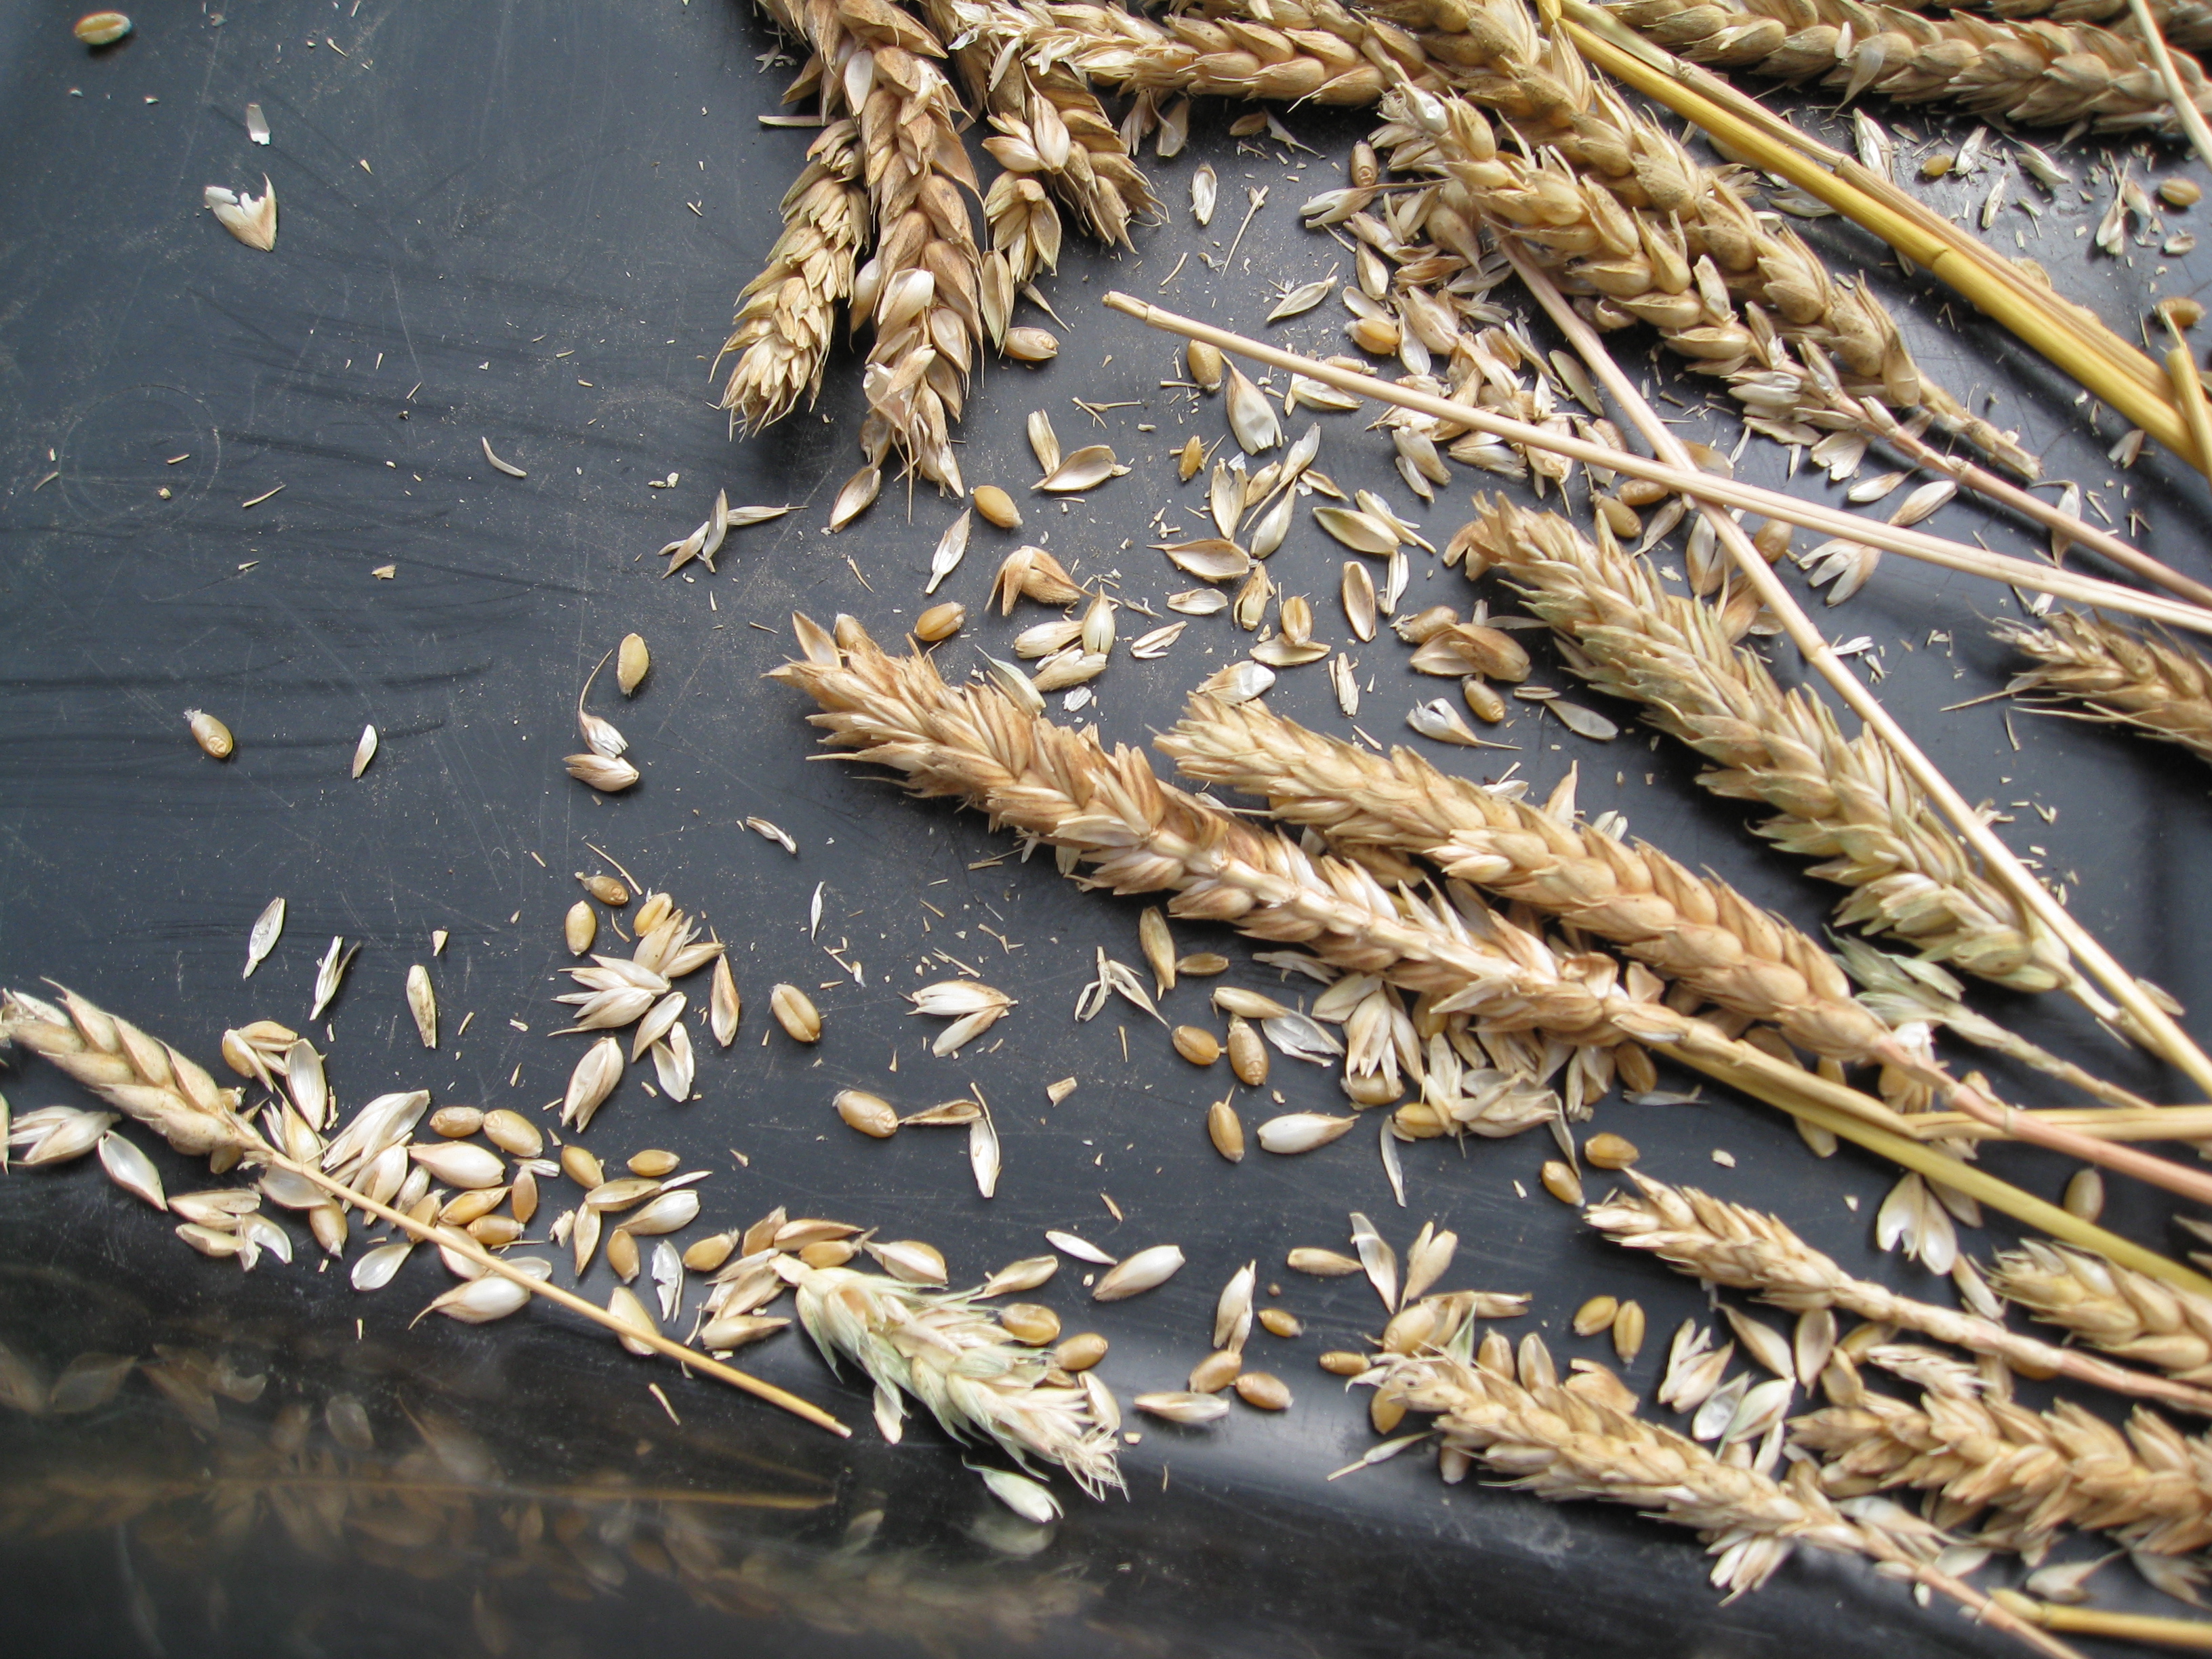
Grains and chaff waiting for winnowing.
6) Winnowing – before winnowing, it’s best to use a screen to remove most of the larger bits of seed head chaff. Then your product will flow more smoothly from bucket to bucket. For details about winnowing, check out this post.

Home grown grains for breads and baked goods. So satisfying!
Final step – before putting your wheat away for storage, transfer it yo an airtight container in the freezer for a few days to kill off any unwelcome critters. There’s nothing worse that finding holes in your grains a few months down the line. Take the proper steps to ensure a bug-free environment for storage.
We’re excited to try baking with our homegrown grains. More on that later, so stay tuned!


Thanks for post. I see you cut your wheat with say 1/2 foot of stock. I was reading how milk goats and chicken love it too.
Very nice job, Christy. Beautiful Website reflecting your values and taste. When did you plant the wheat?
Thanks, Richard. White Sonora is a winter wheat, so we planted it in October and it went through the winter for a May harvest. We put in some late tomatoes in that spot after that and they’re doing well so far.