
This spring we experimented with growing heirloom Black Dakota popping corn. It’s a beautiful, deep red, pointy popping corn that pops white. We couldn’t resist the opportunity to plant this ancestral corn and load up on one of our favorite snacks.
Growing popcorn is easy because you don’t have to time it out to pick it during the milk stage. You just grow it and let it dry on the stalk. That’s it. To learn more details about growing popcorn in general, click here.
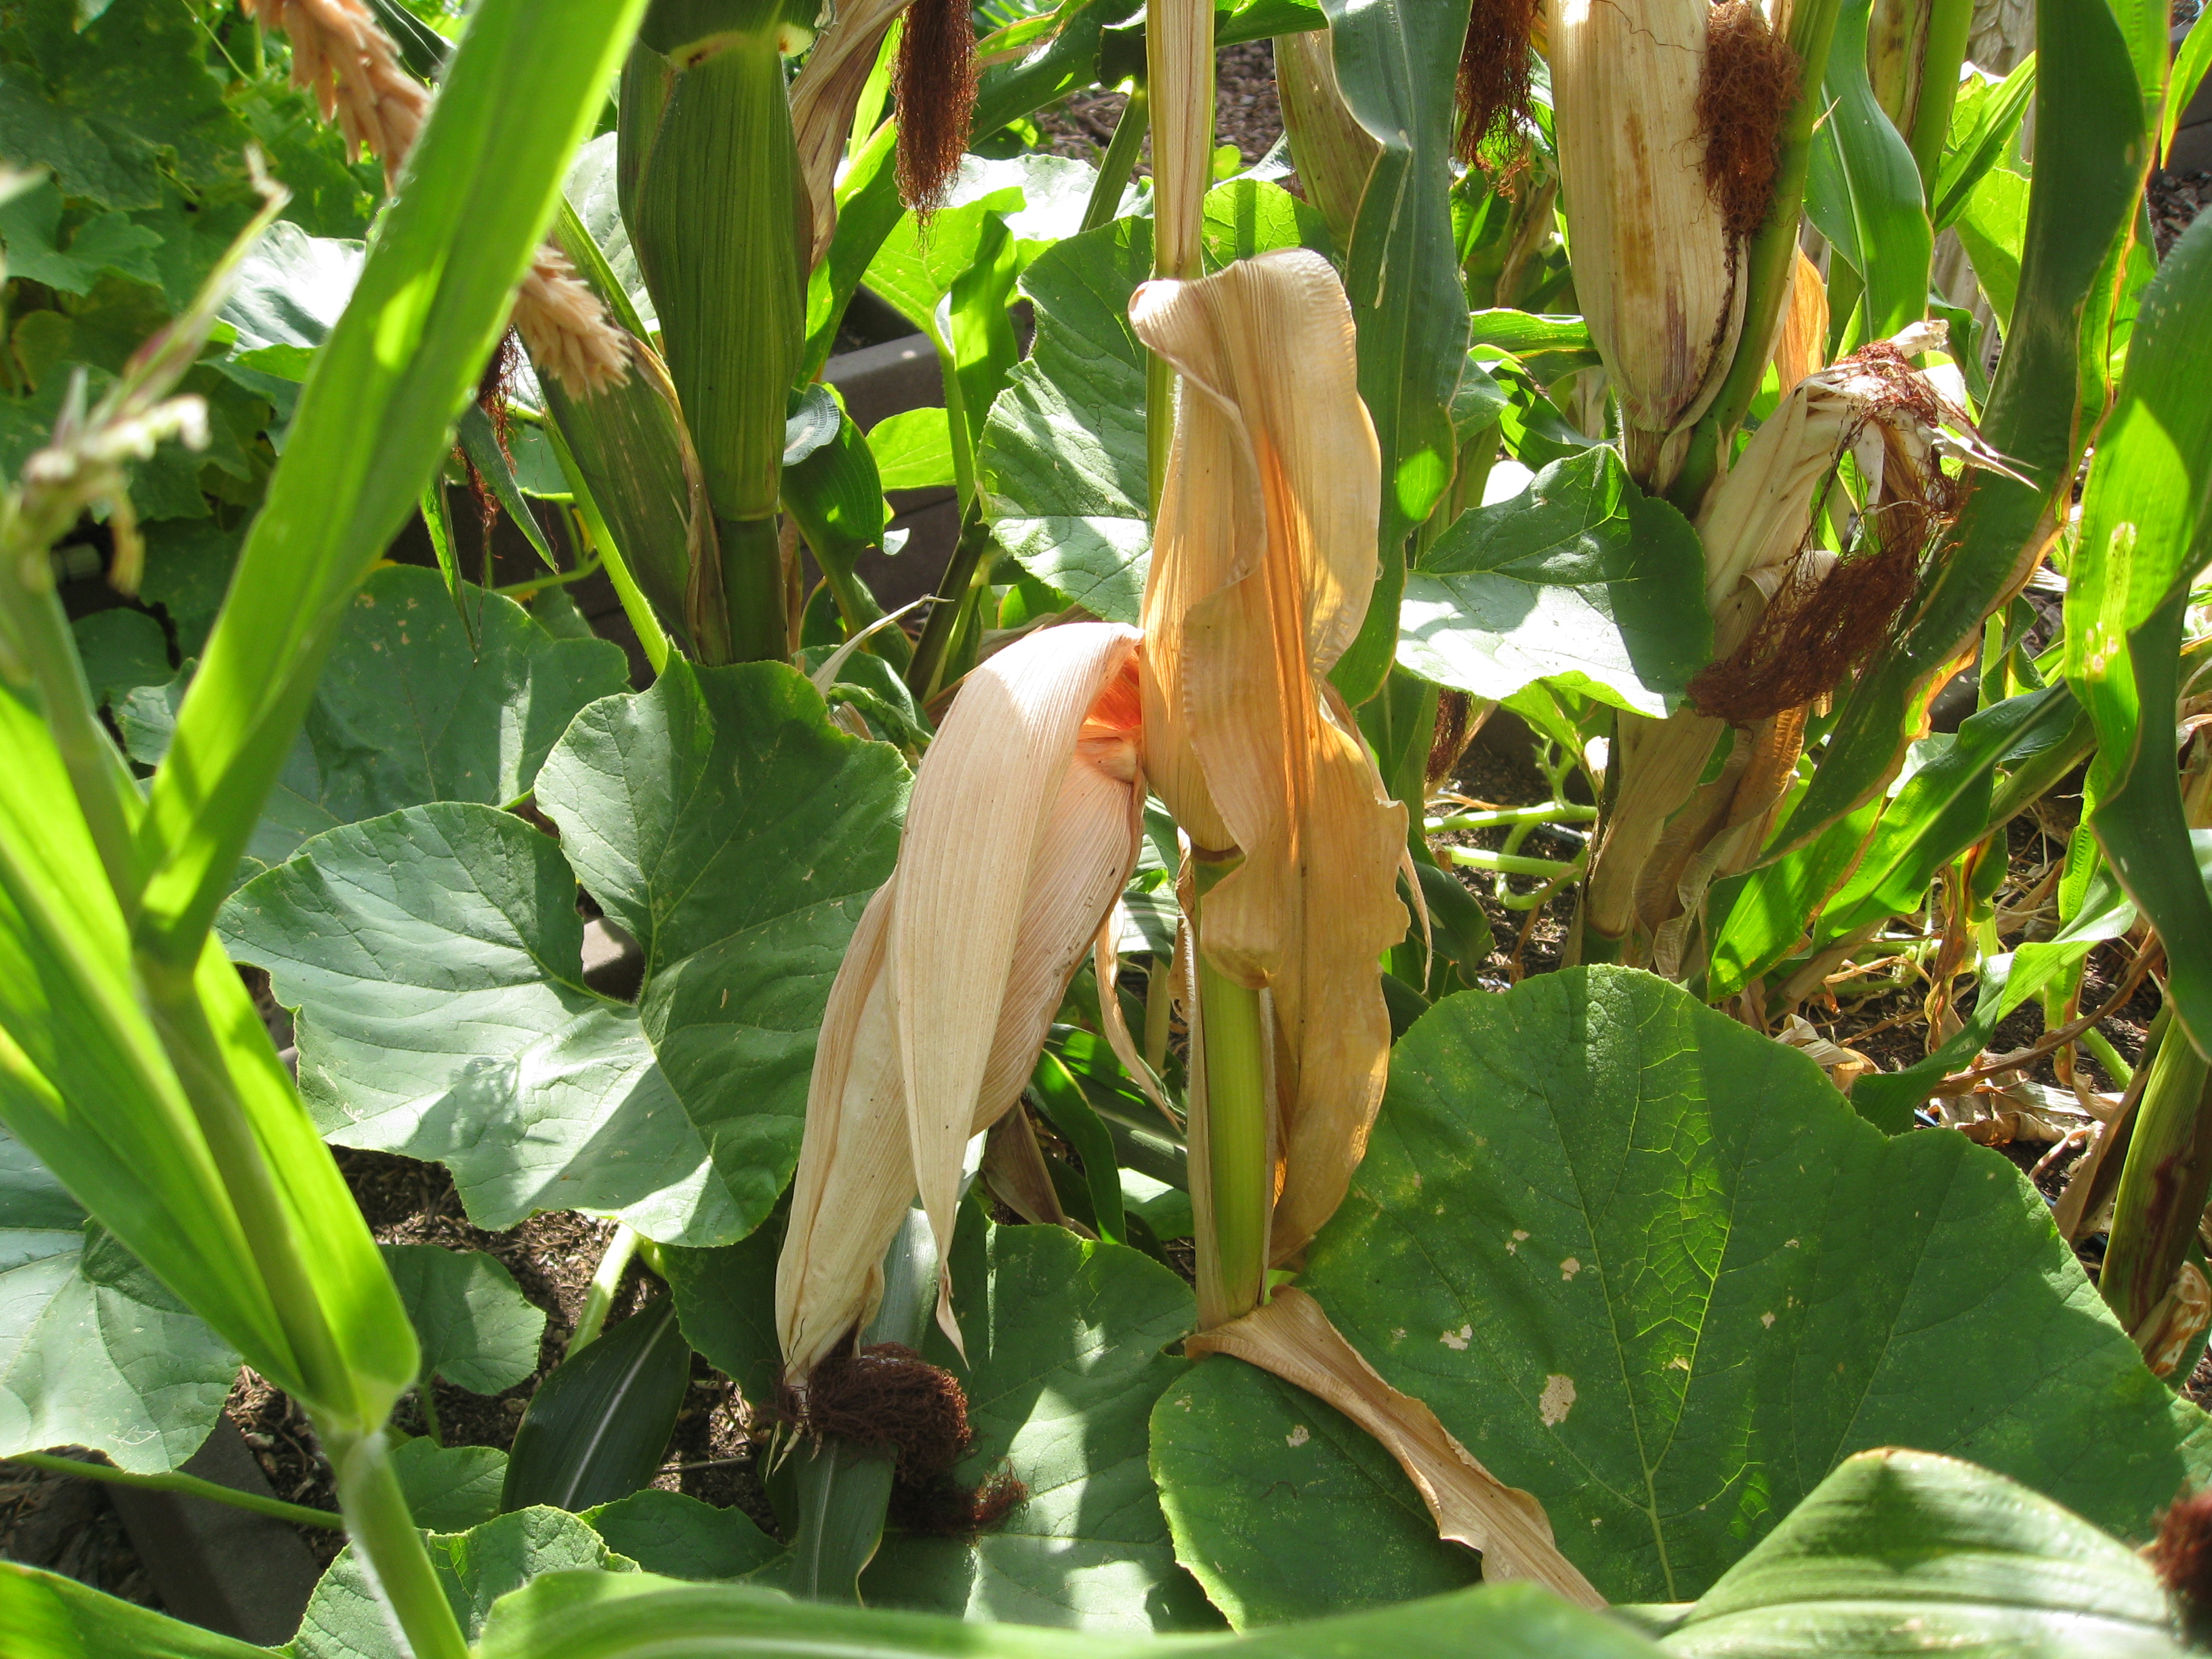
Popcorn is ready to pick when the ear flops over. Some of our ears refused to participate, but were still good. See the dried silks hanging off the tip of the ear?
We pulled off the ears one by one as they dried and what we found was this glorious color:
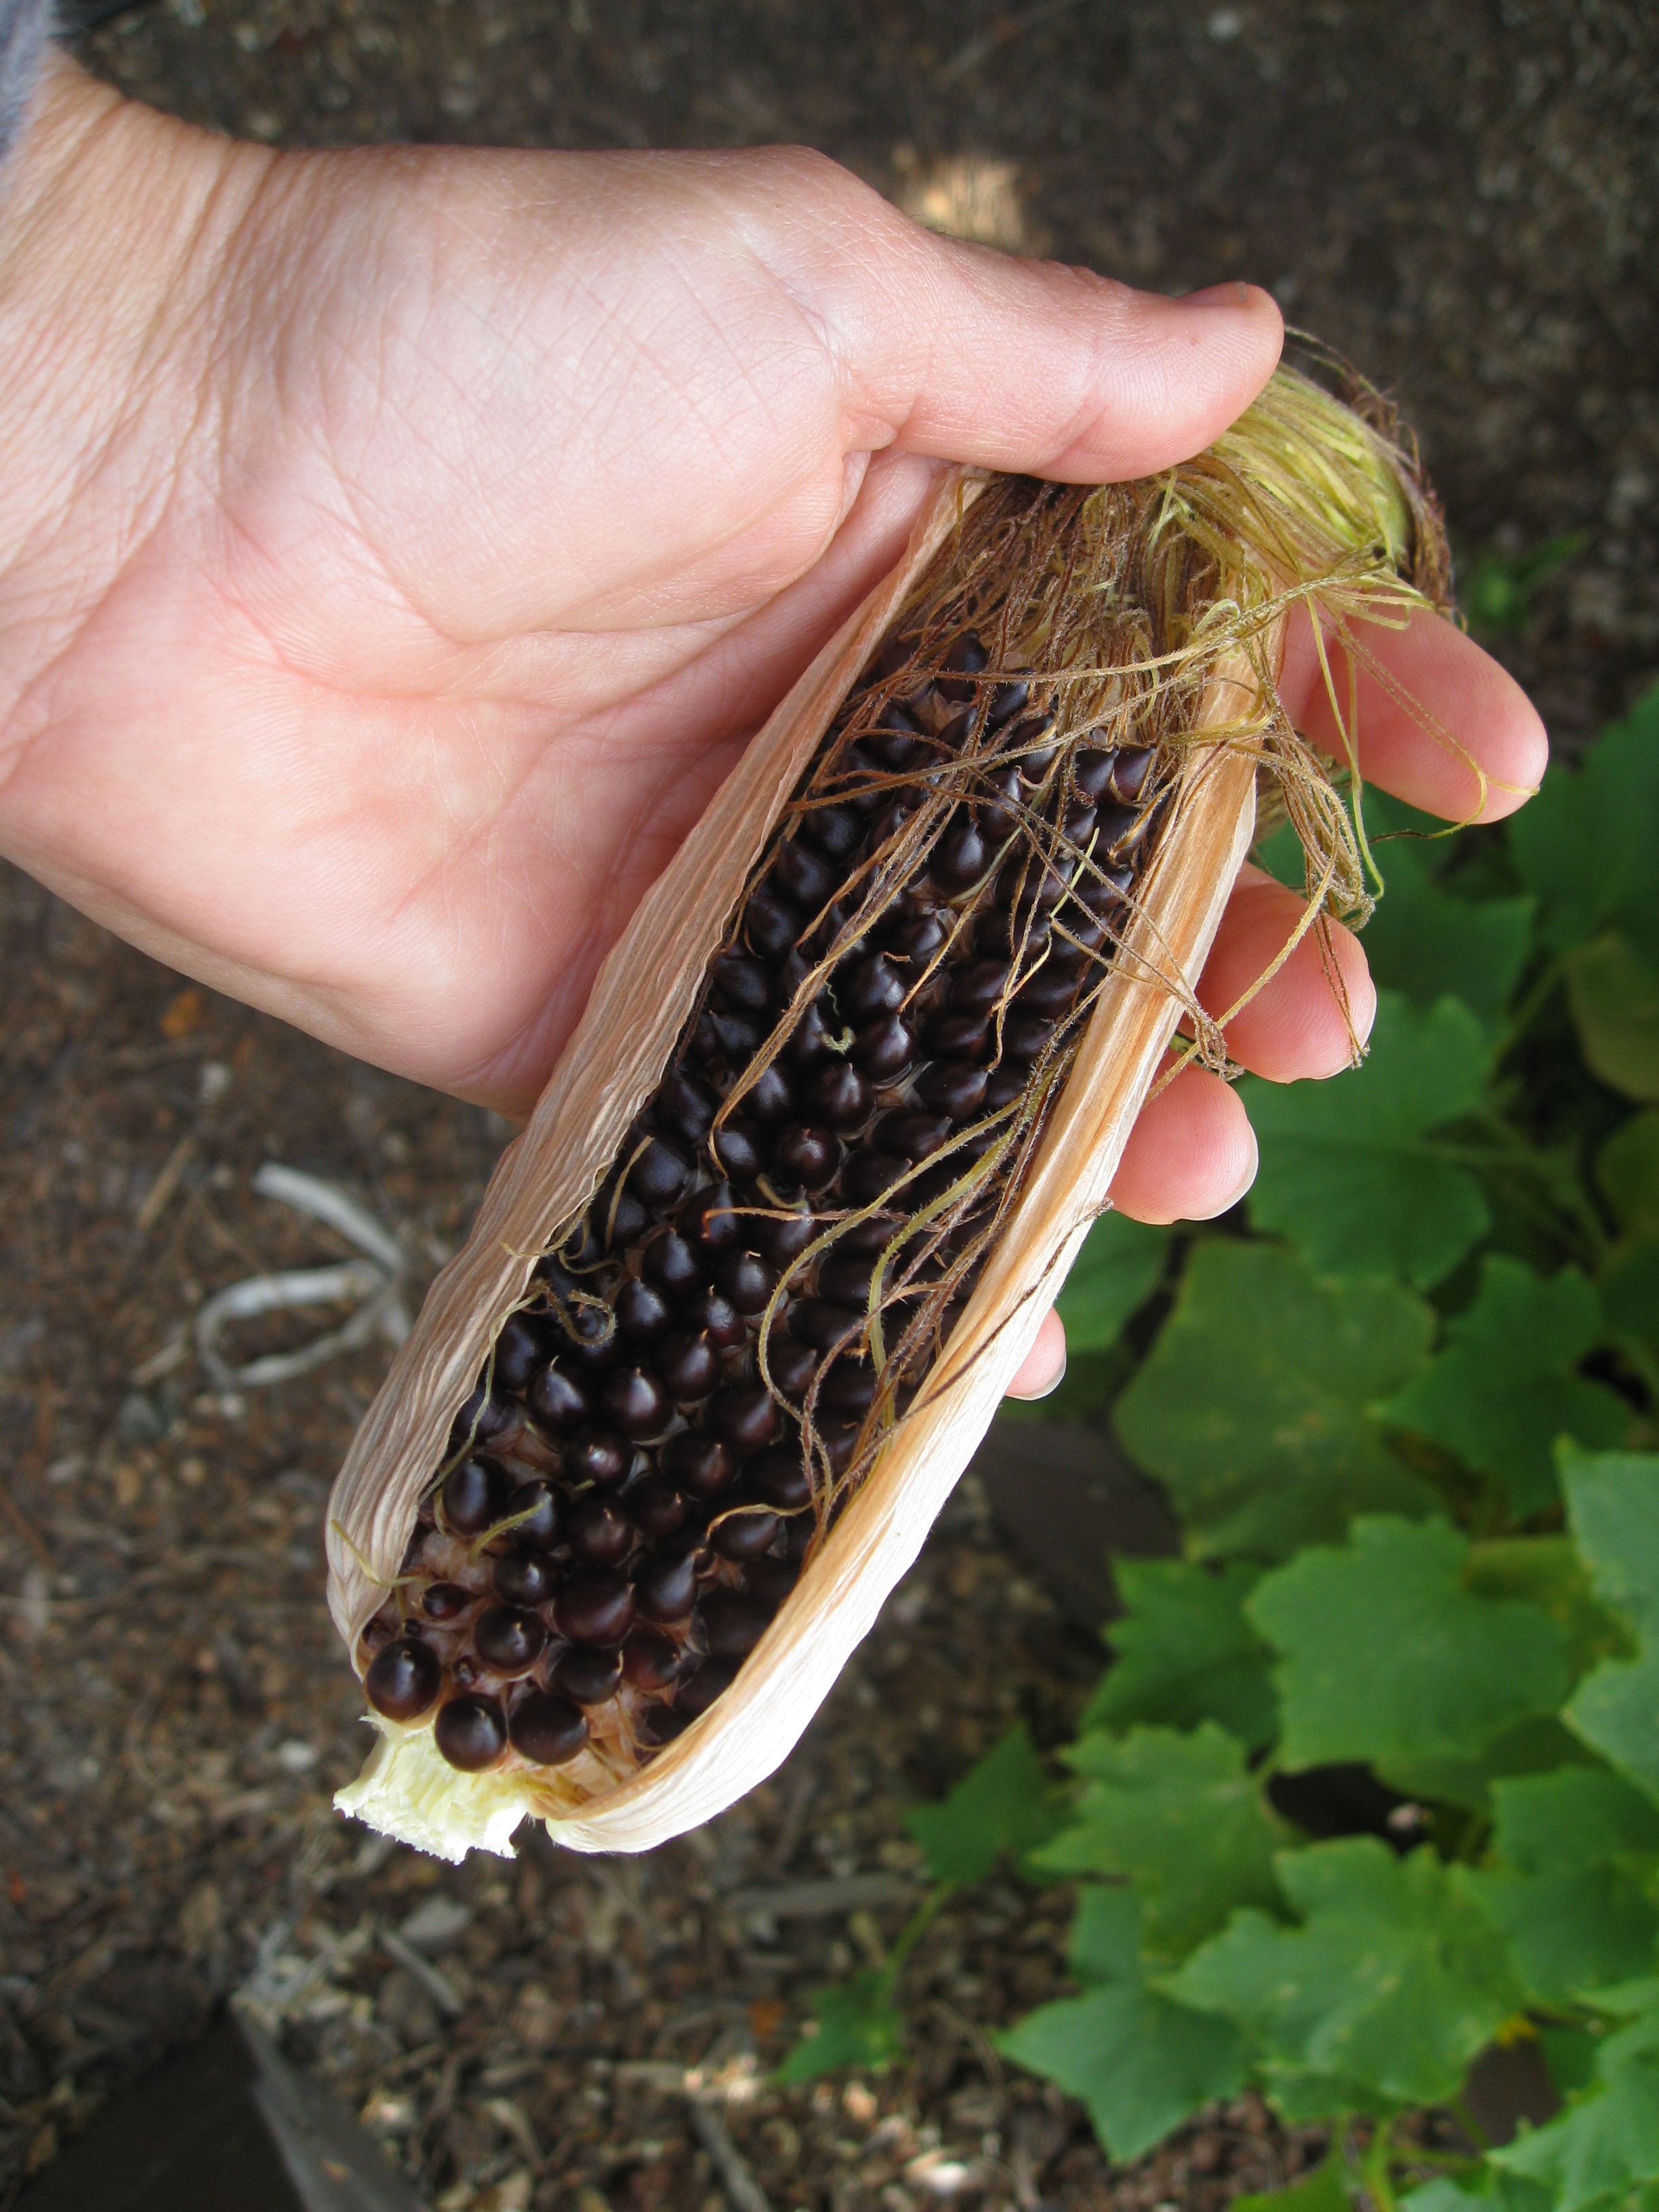
Black Dakota Popping Corn
Color variations occurred throughout. The darker ones seemed to have had some sun exposure.
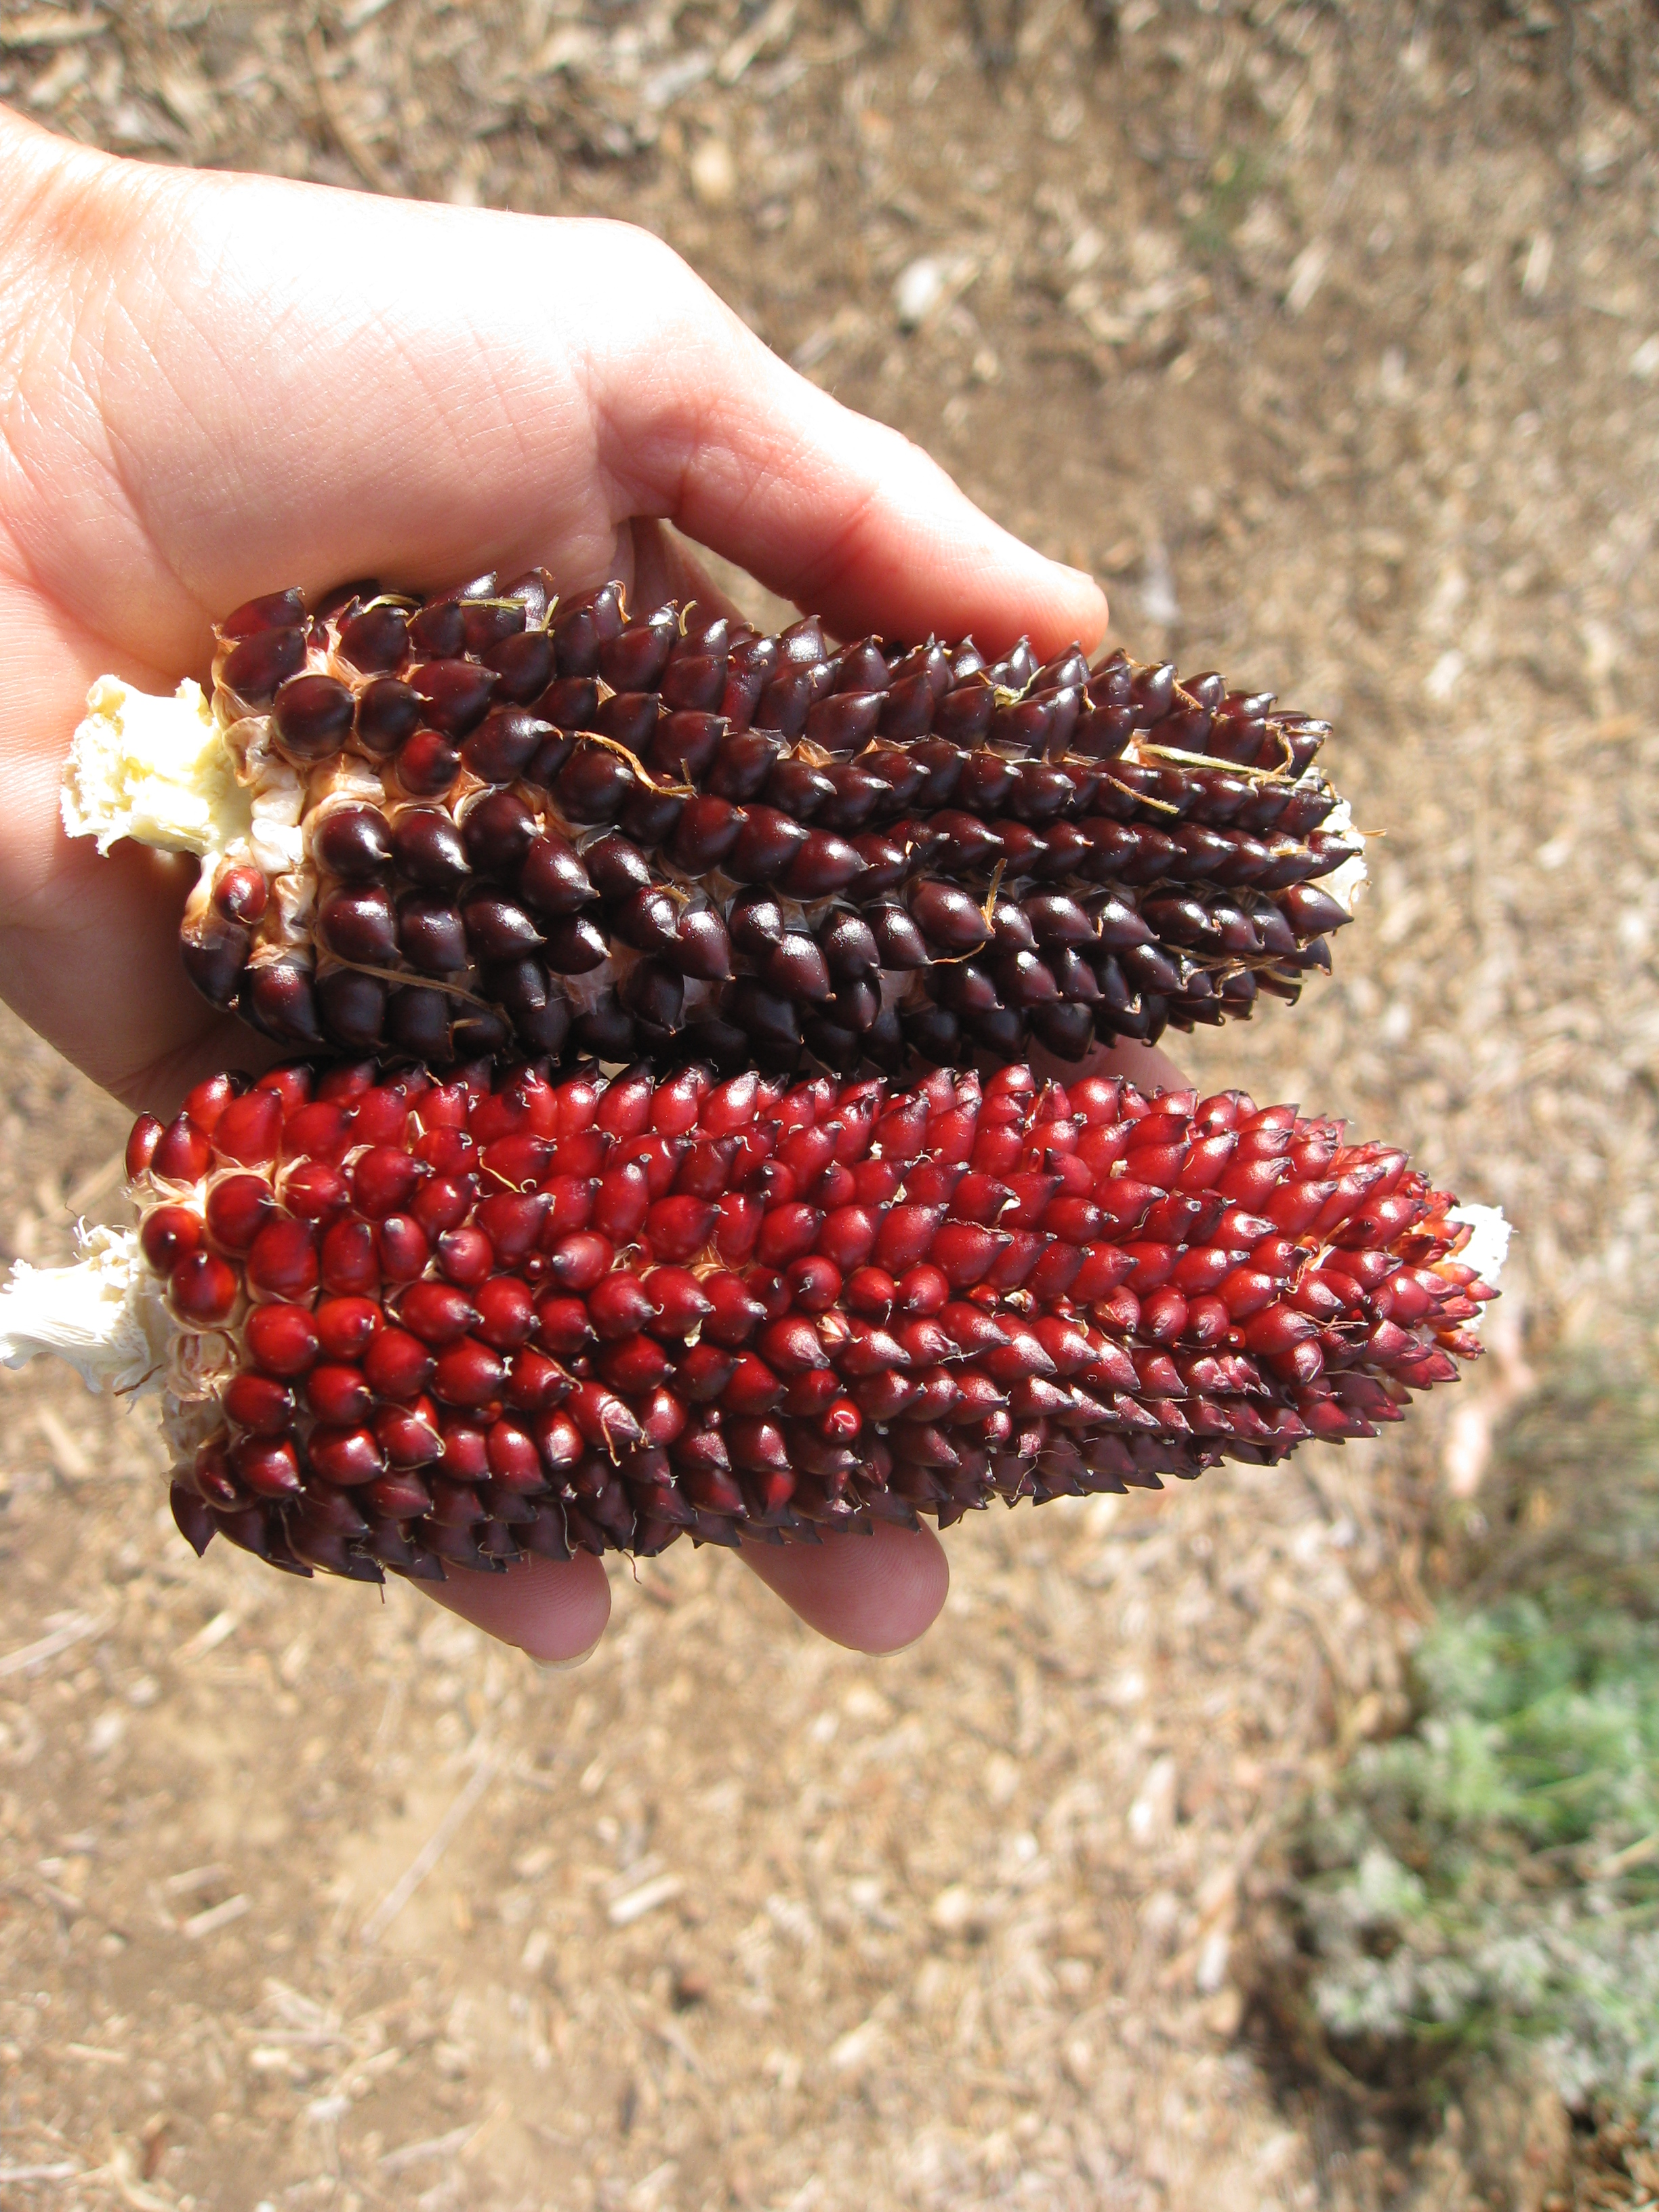
Red and crimson shine in the garden
Here’s our total harvest from one 4×4 raised bed.
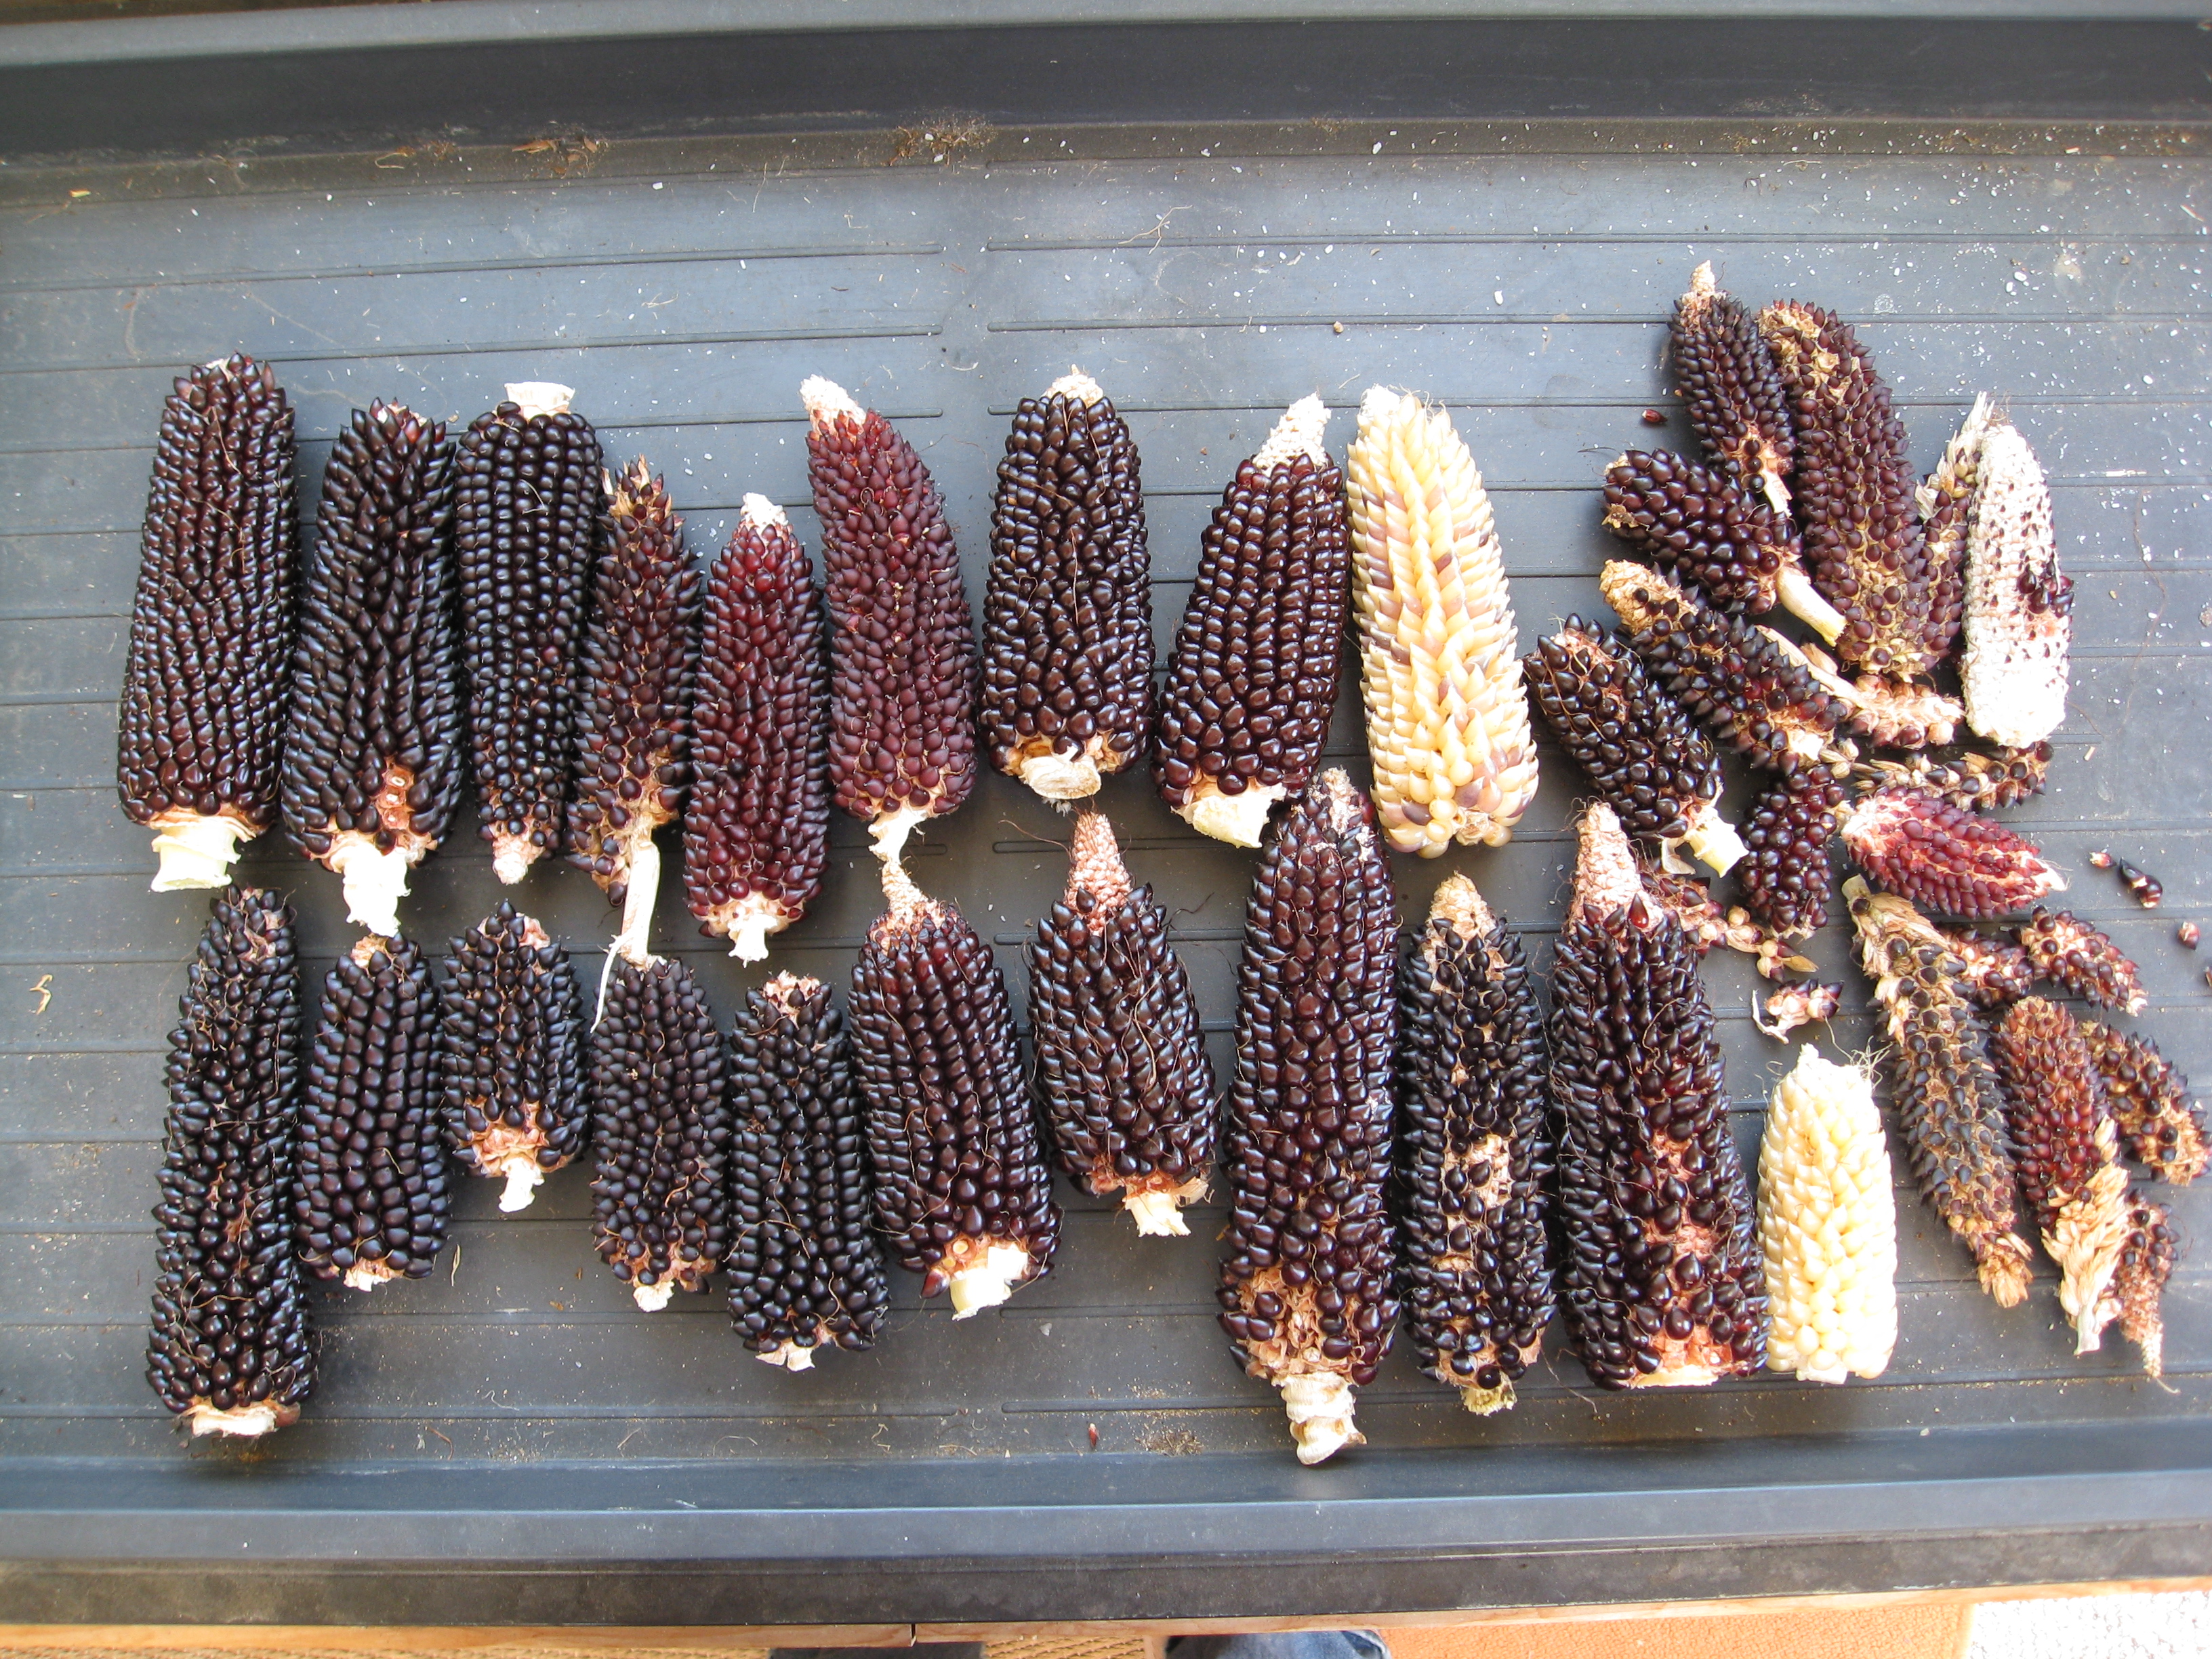
Our total harvest for 2014
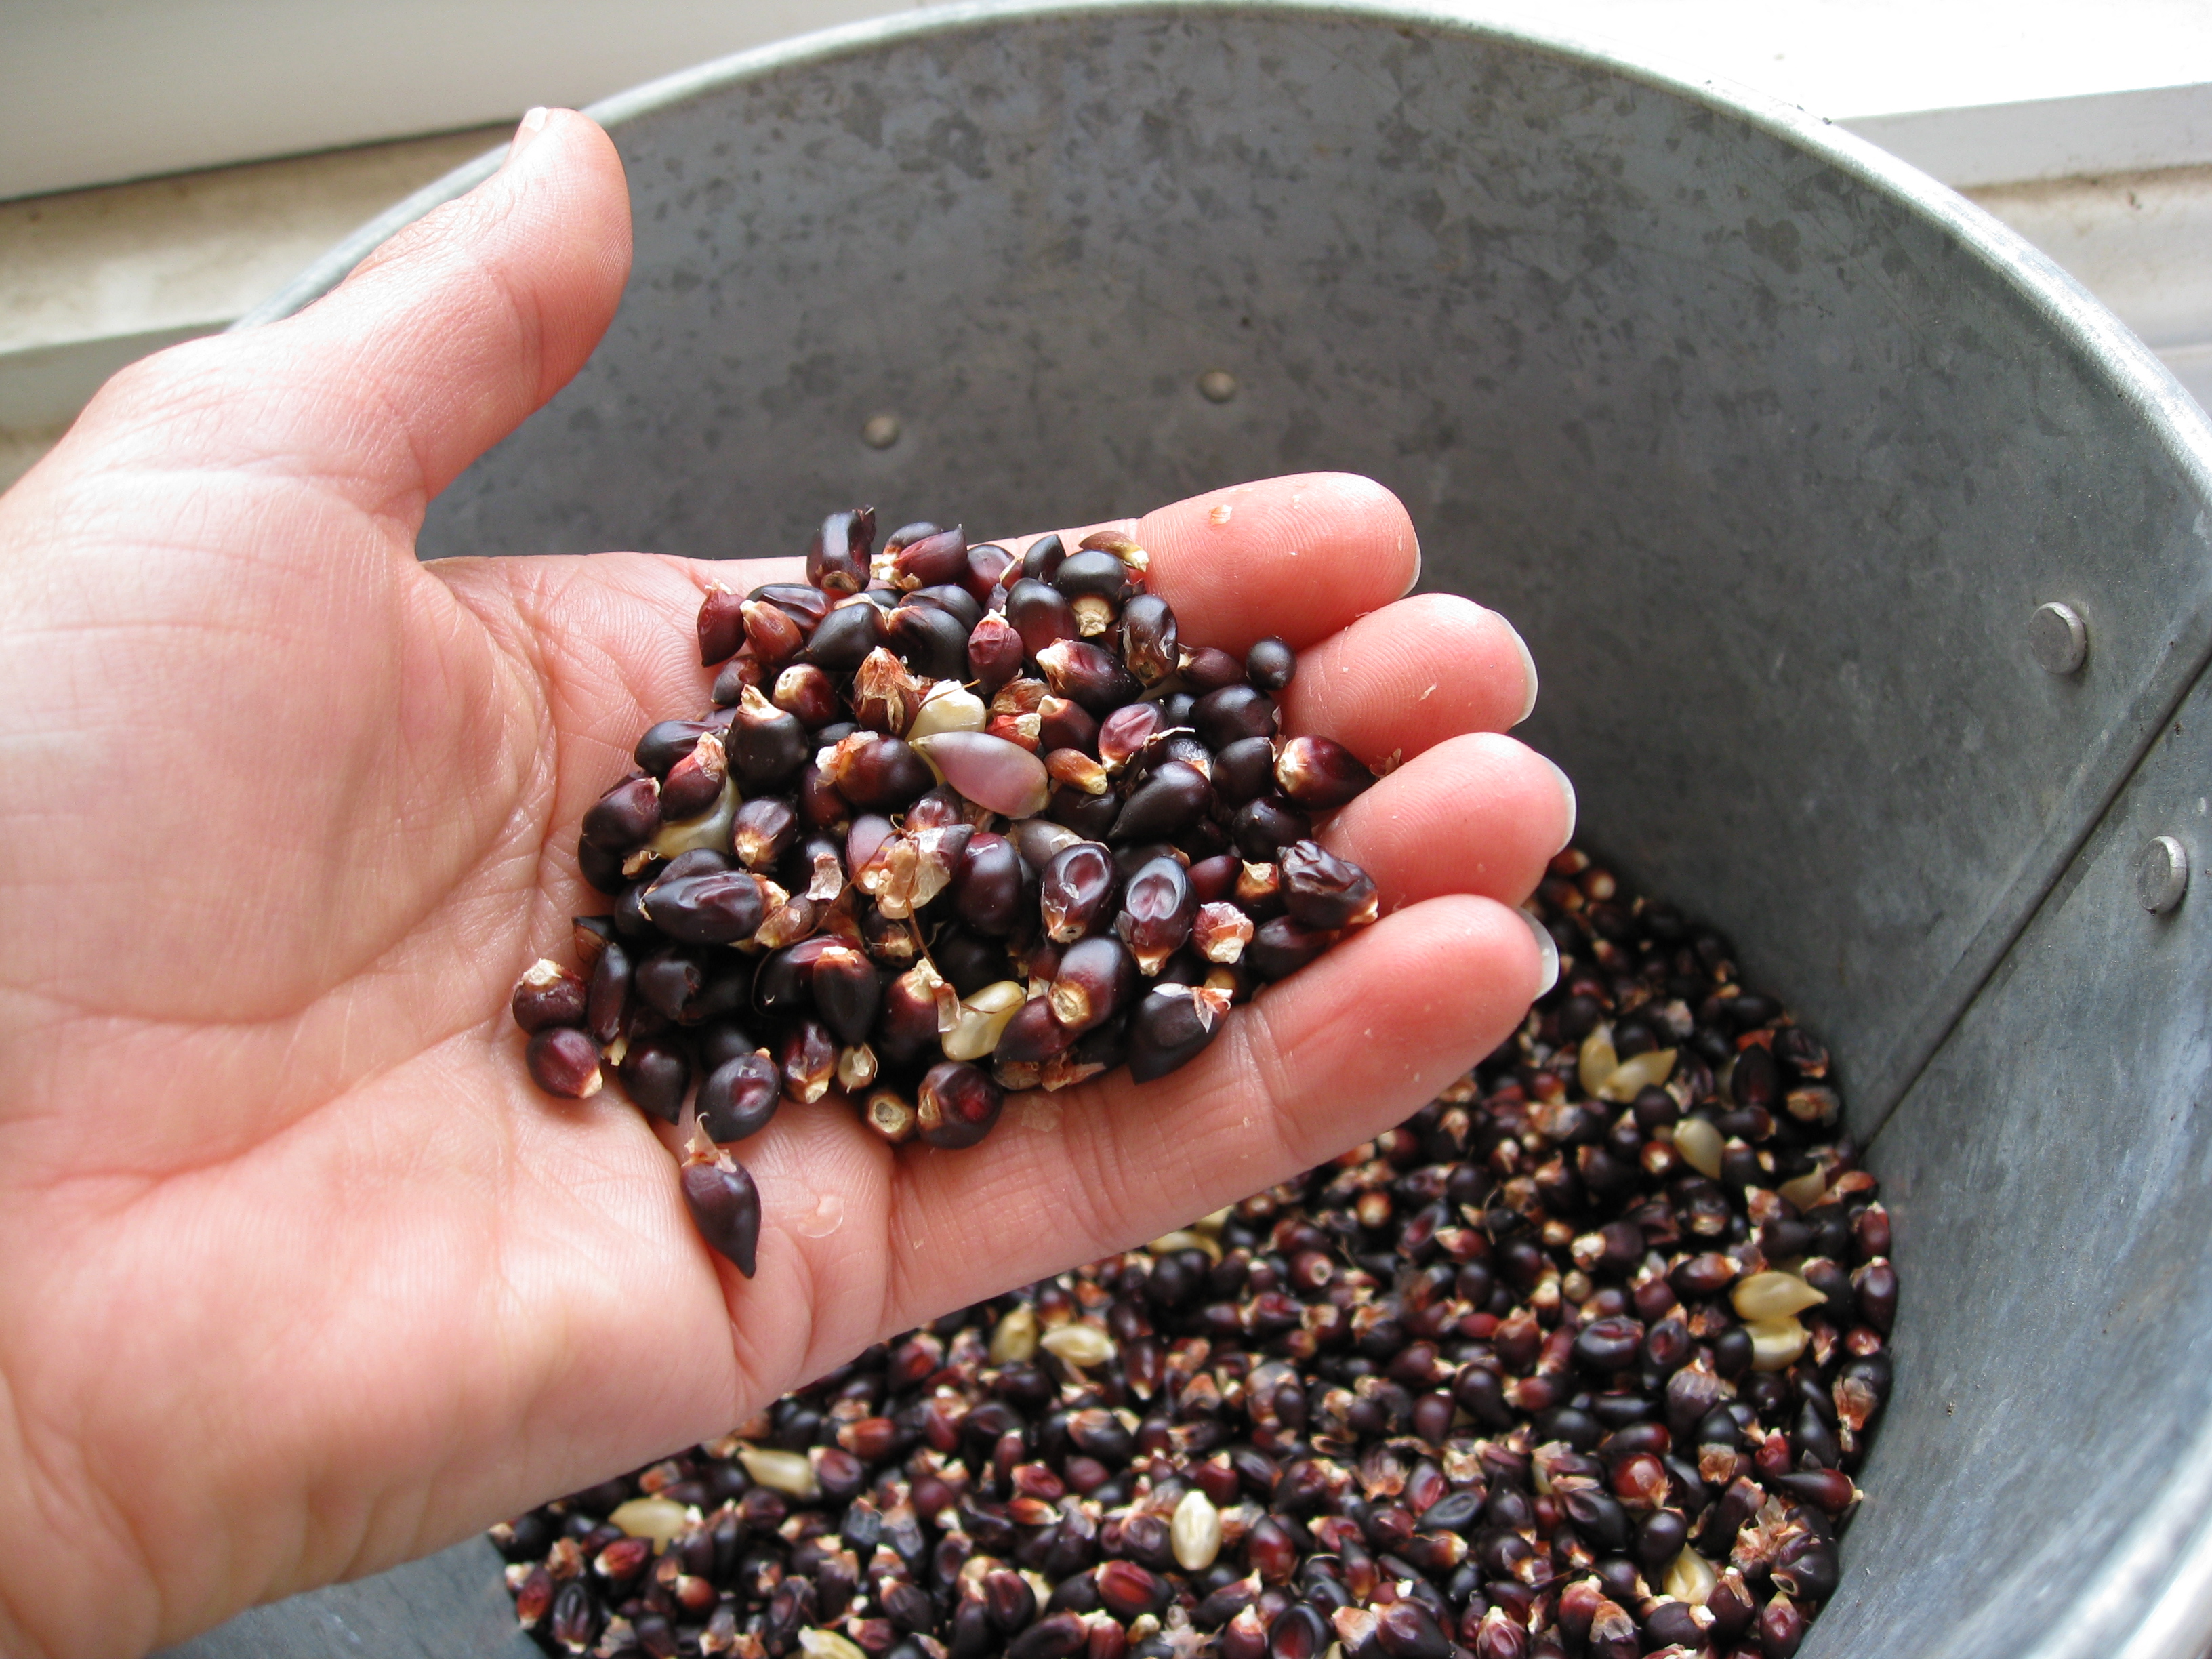
We let them dry down at this point and waited until the kernels released easily from the ear before shelling. But wait…what’s that mixed in?
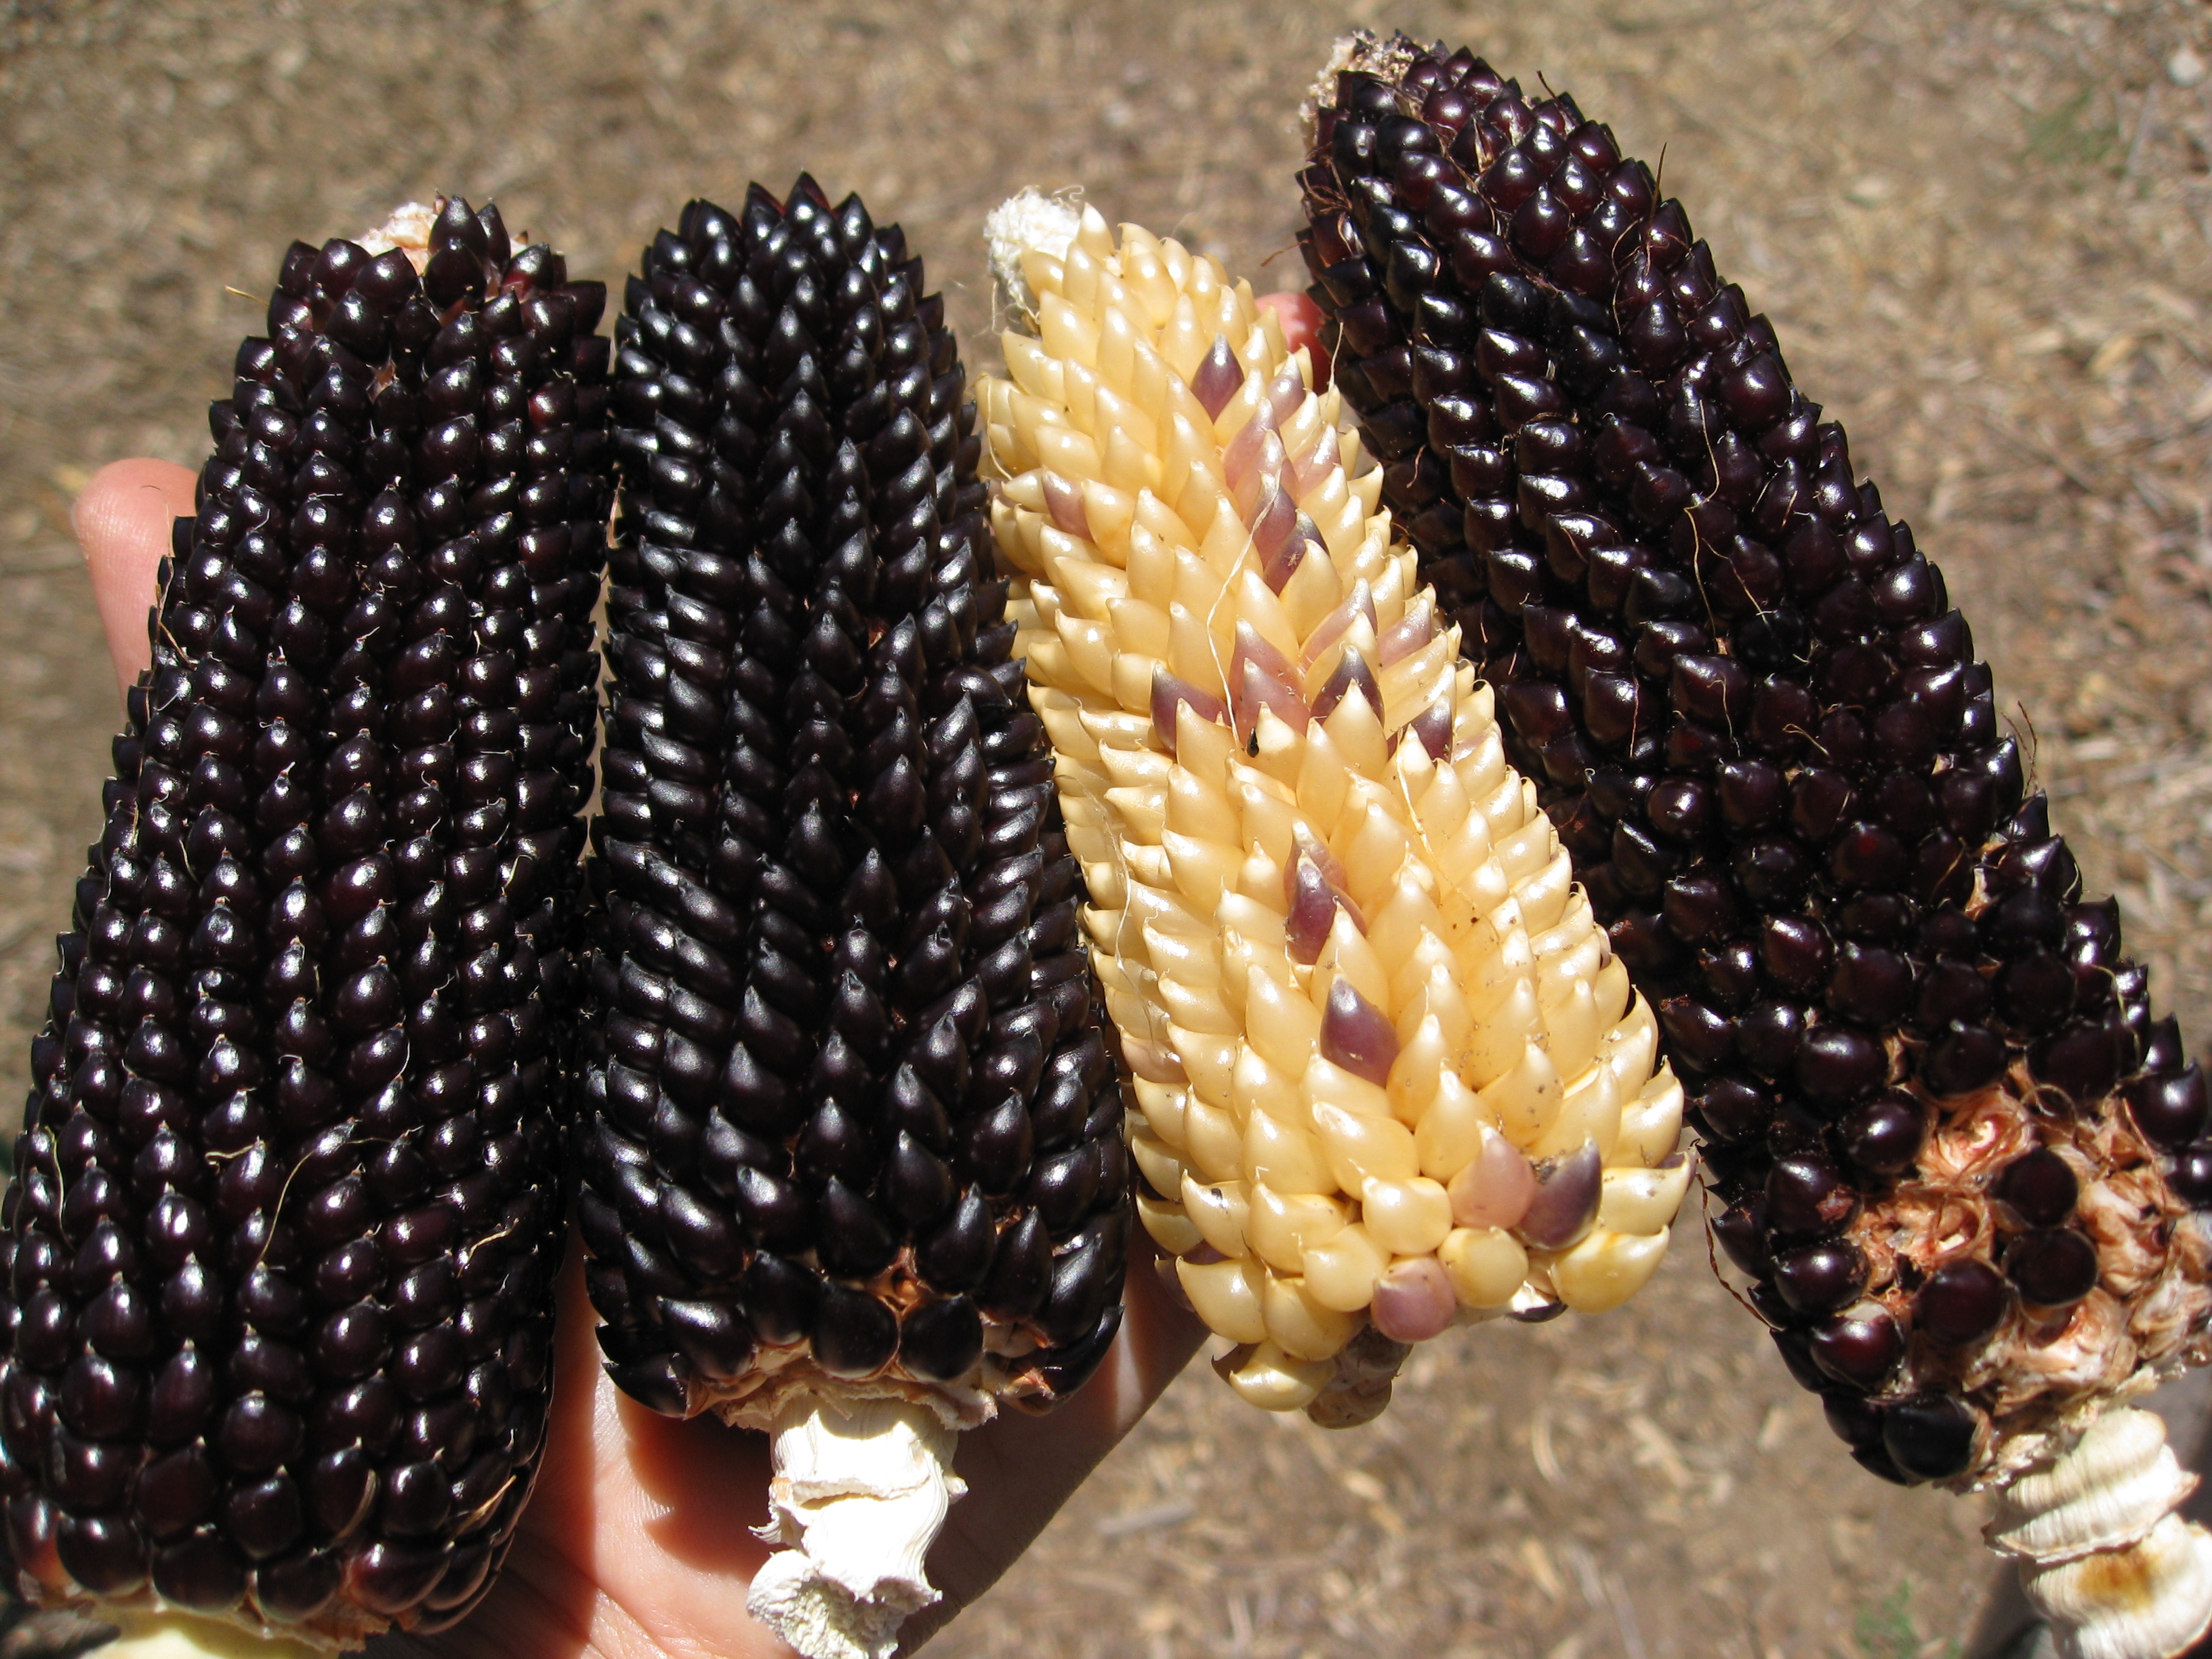
X-Men popcorn: We’ve got a mutant here, folks.
That’s right, two of the ears came out blond. Albino black popping corn? Mutations like this occur naturally, even though we know no one in the neighborhood was growing corn. We’re going to save the lavender colored kernels and try growing them out. We’ll see what happens!
Next we put on gloves and used our $6 corn sheller to remove the kernels from the ears (some ears didn’t even need the sheller). We were surprised to see that even the bare ears were red.
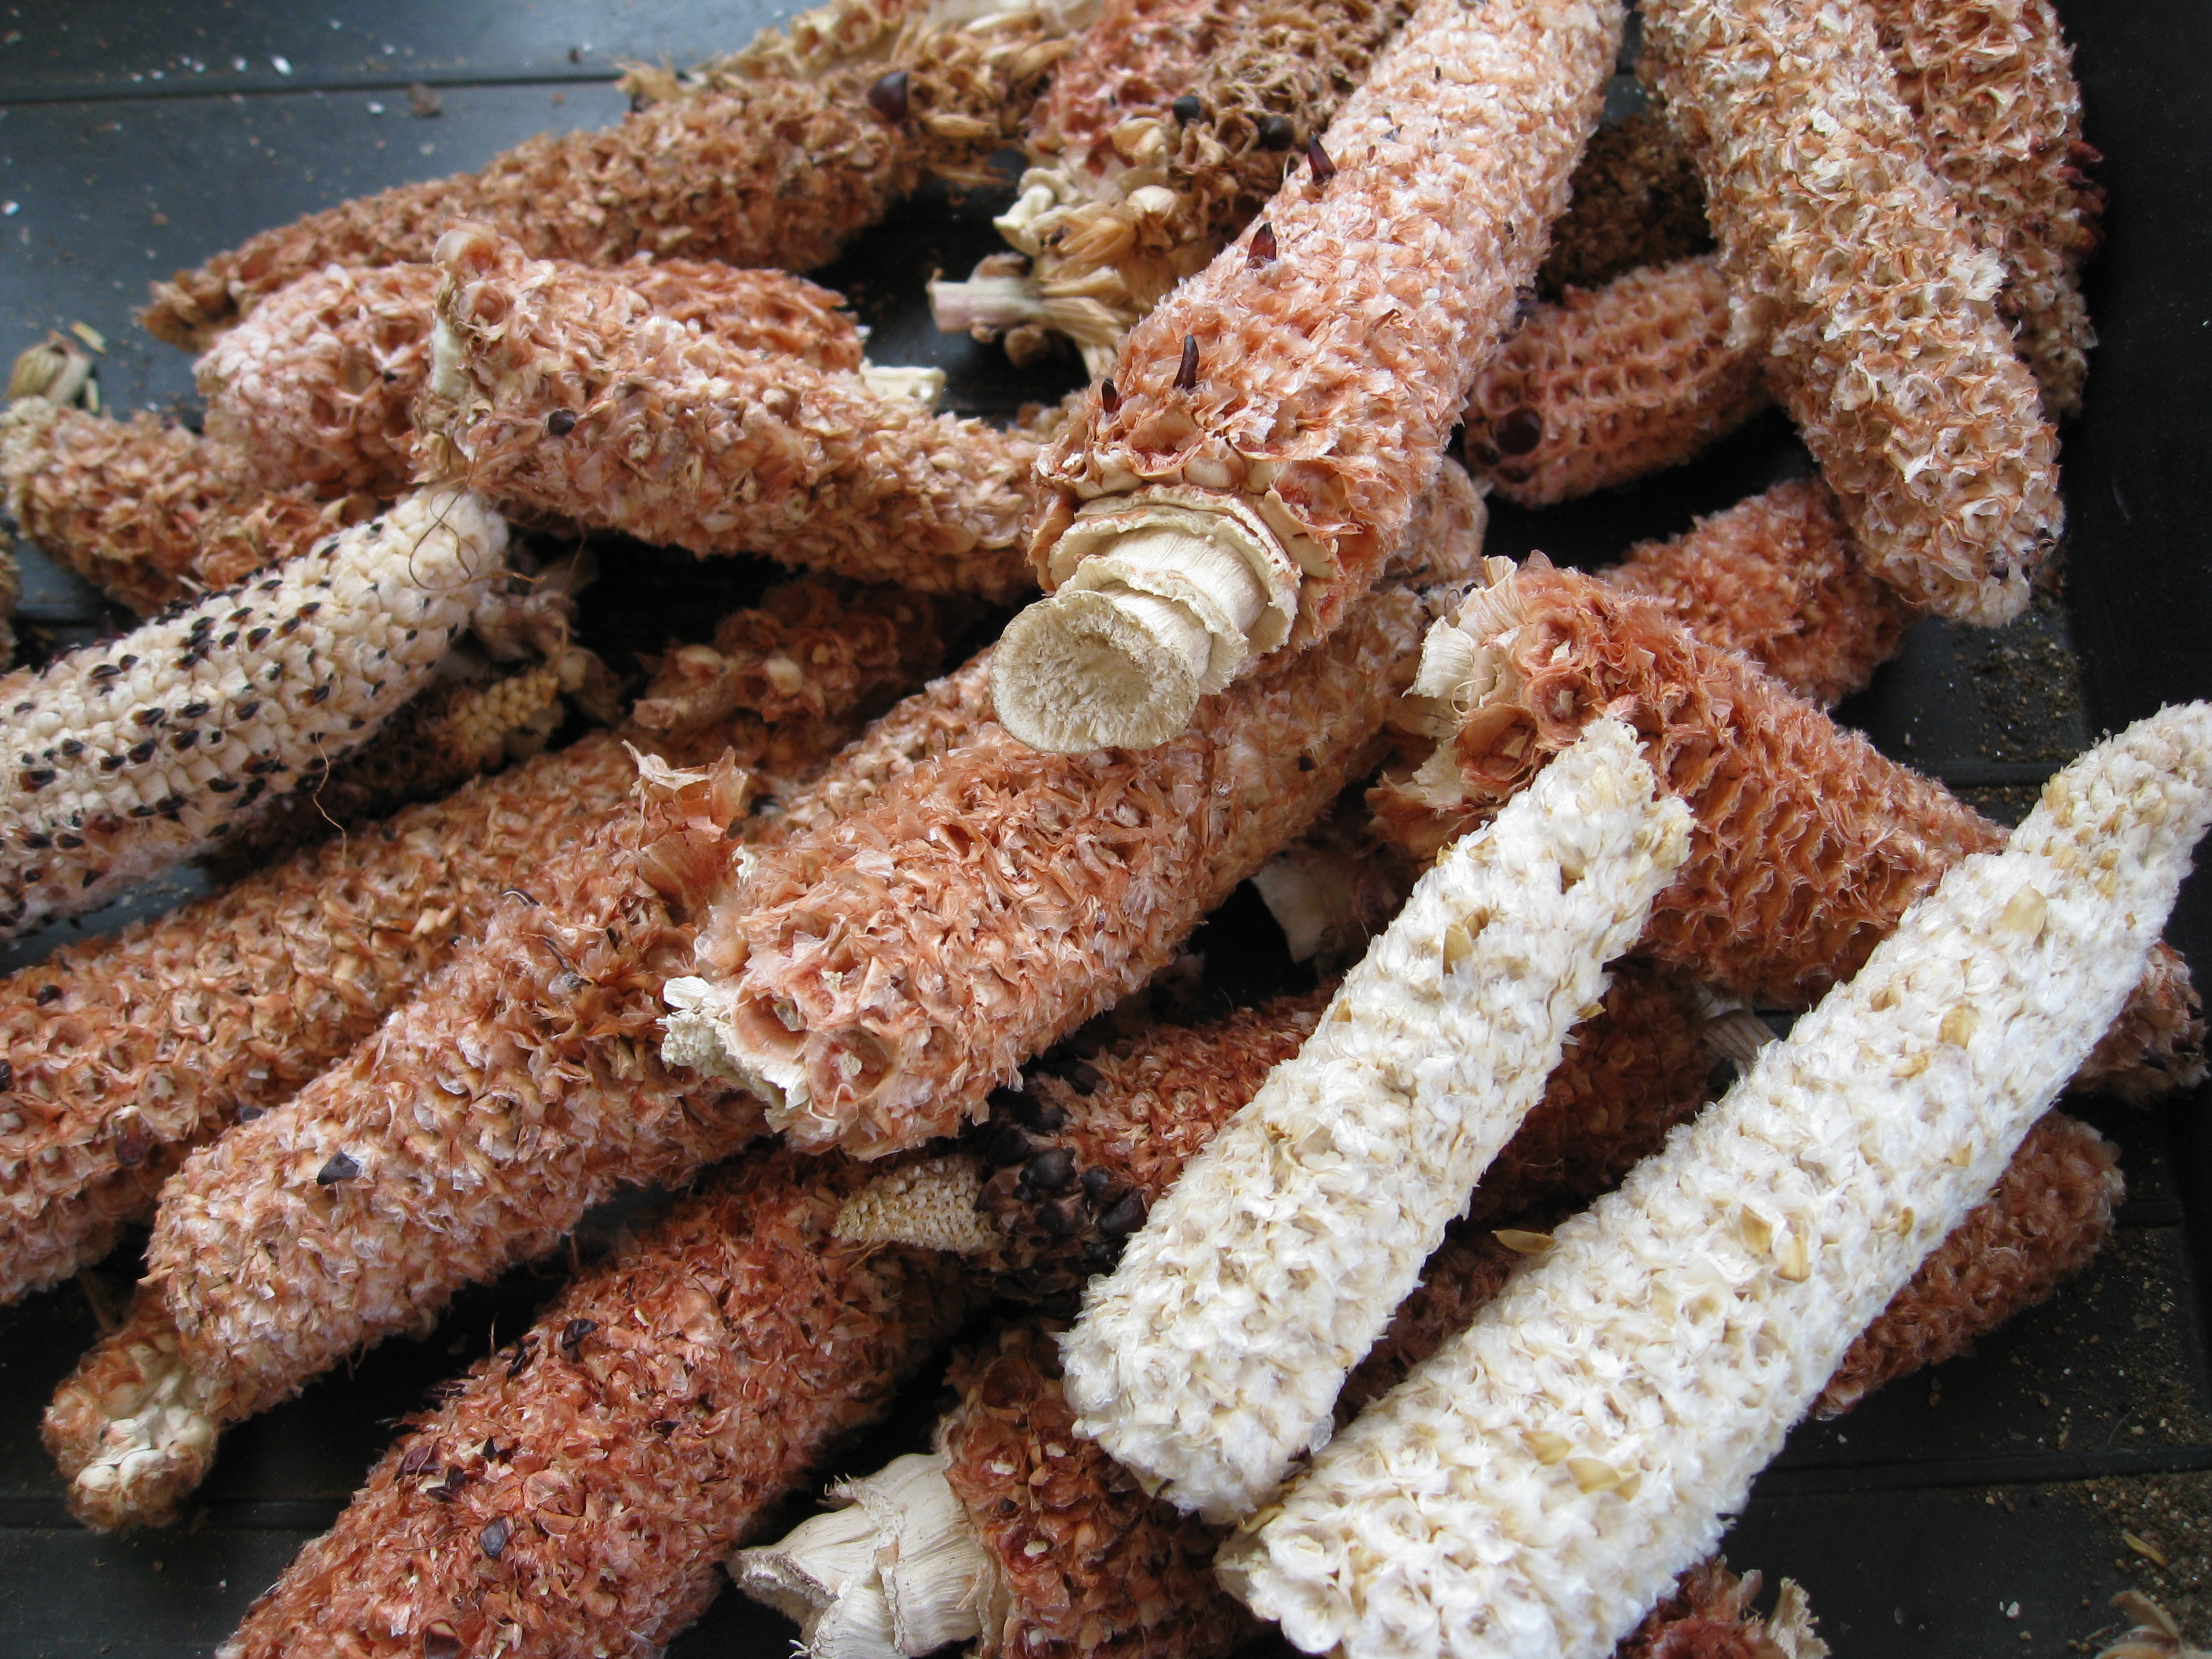
Red through and through (except for the mutants)
Next up, winnowing: blowing the chaff away from the kernels to clean out all debris before saving the popping corn. We use a fan and two buckets to do that. You can see it in action in this triticale harvesting blog post.
All in all, we harvested 2 1/2 pounds of popping corn from about 17 plants in a 4×4 foot space. That’s a year’s supply!
Our harvest totaled 2.5 pounds!
Notes: make sure your popping corn is really dry before putting it away. We’ve made the rookie mistake of storing it before it was completely dry and we discovered the jar filled with mold. We were able to save the popping corn by washing off all the mold and leaving it out to dry on cookie sheets for a couple weeks. This year, we won’t take chances.
The true test for dryness is the popping itself. If the corn has around 13% moisture, it will pop. Too much moisture and it won’t. Here’s our test batch:
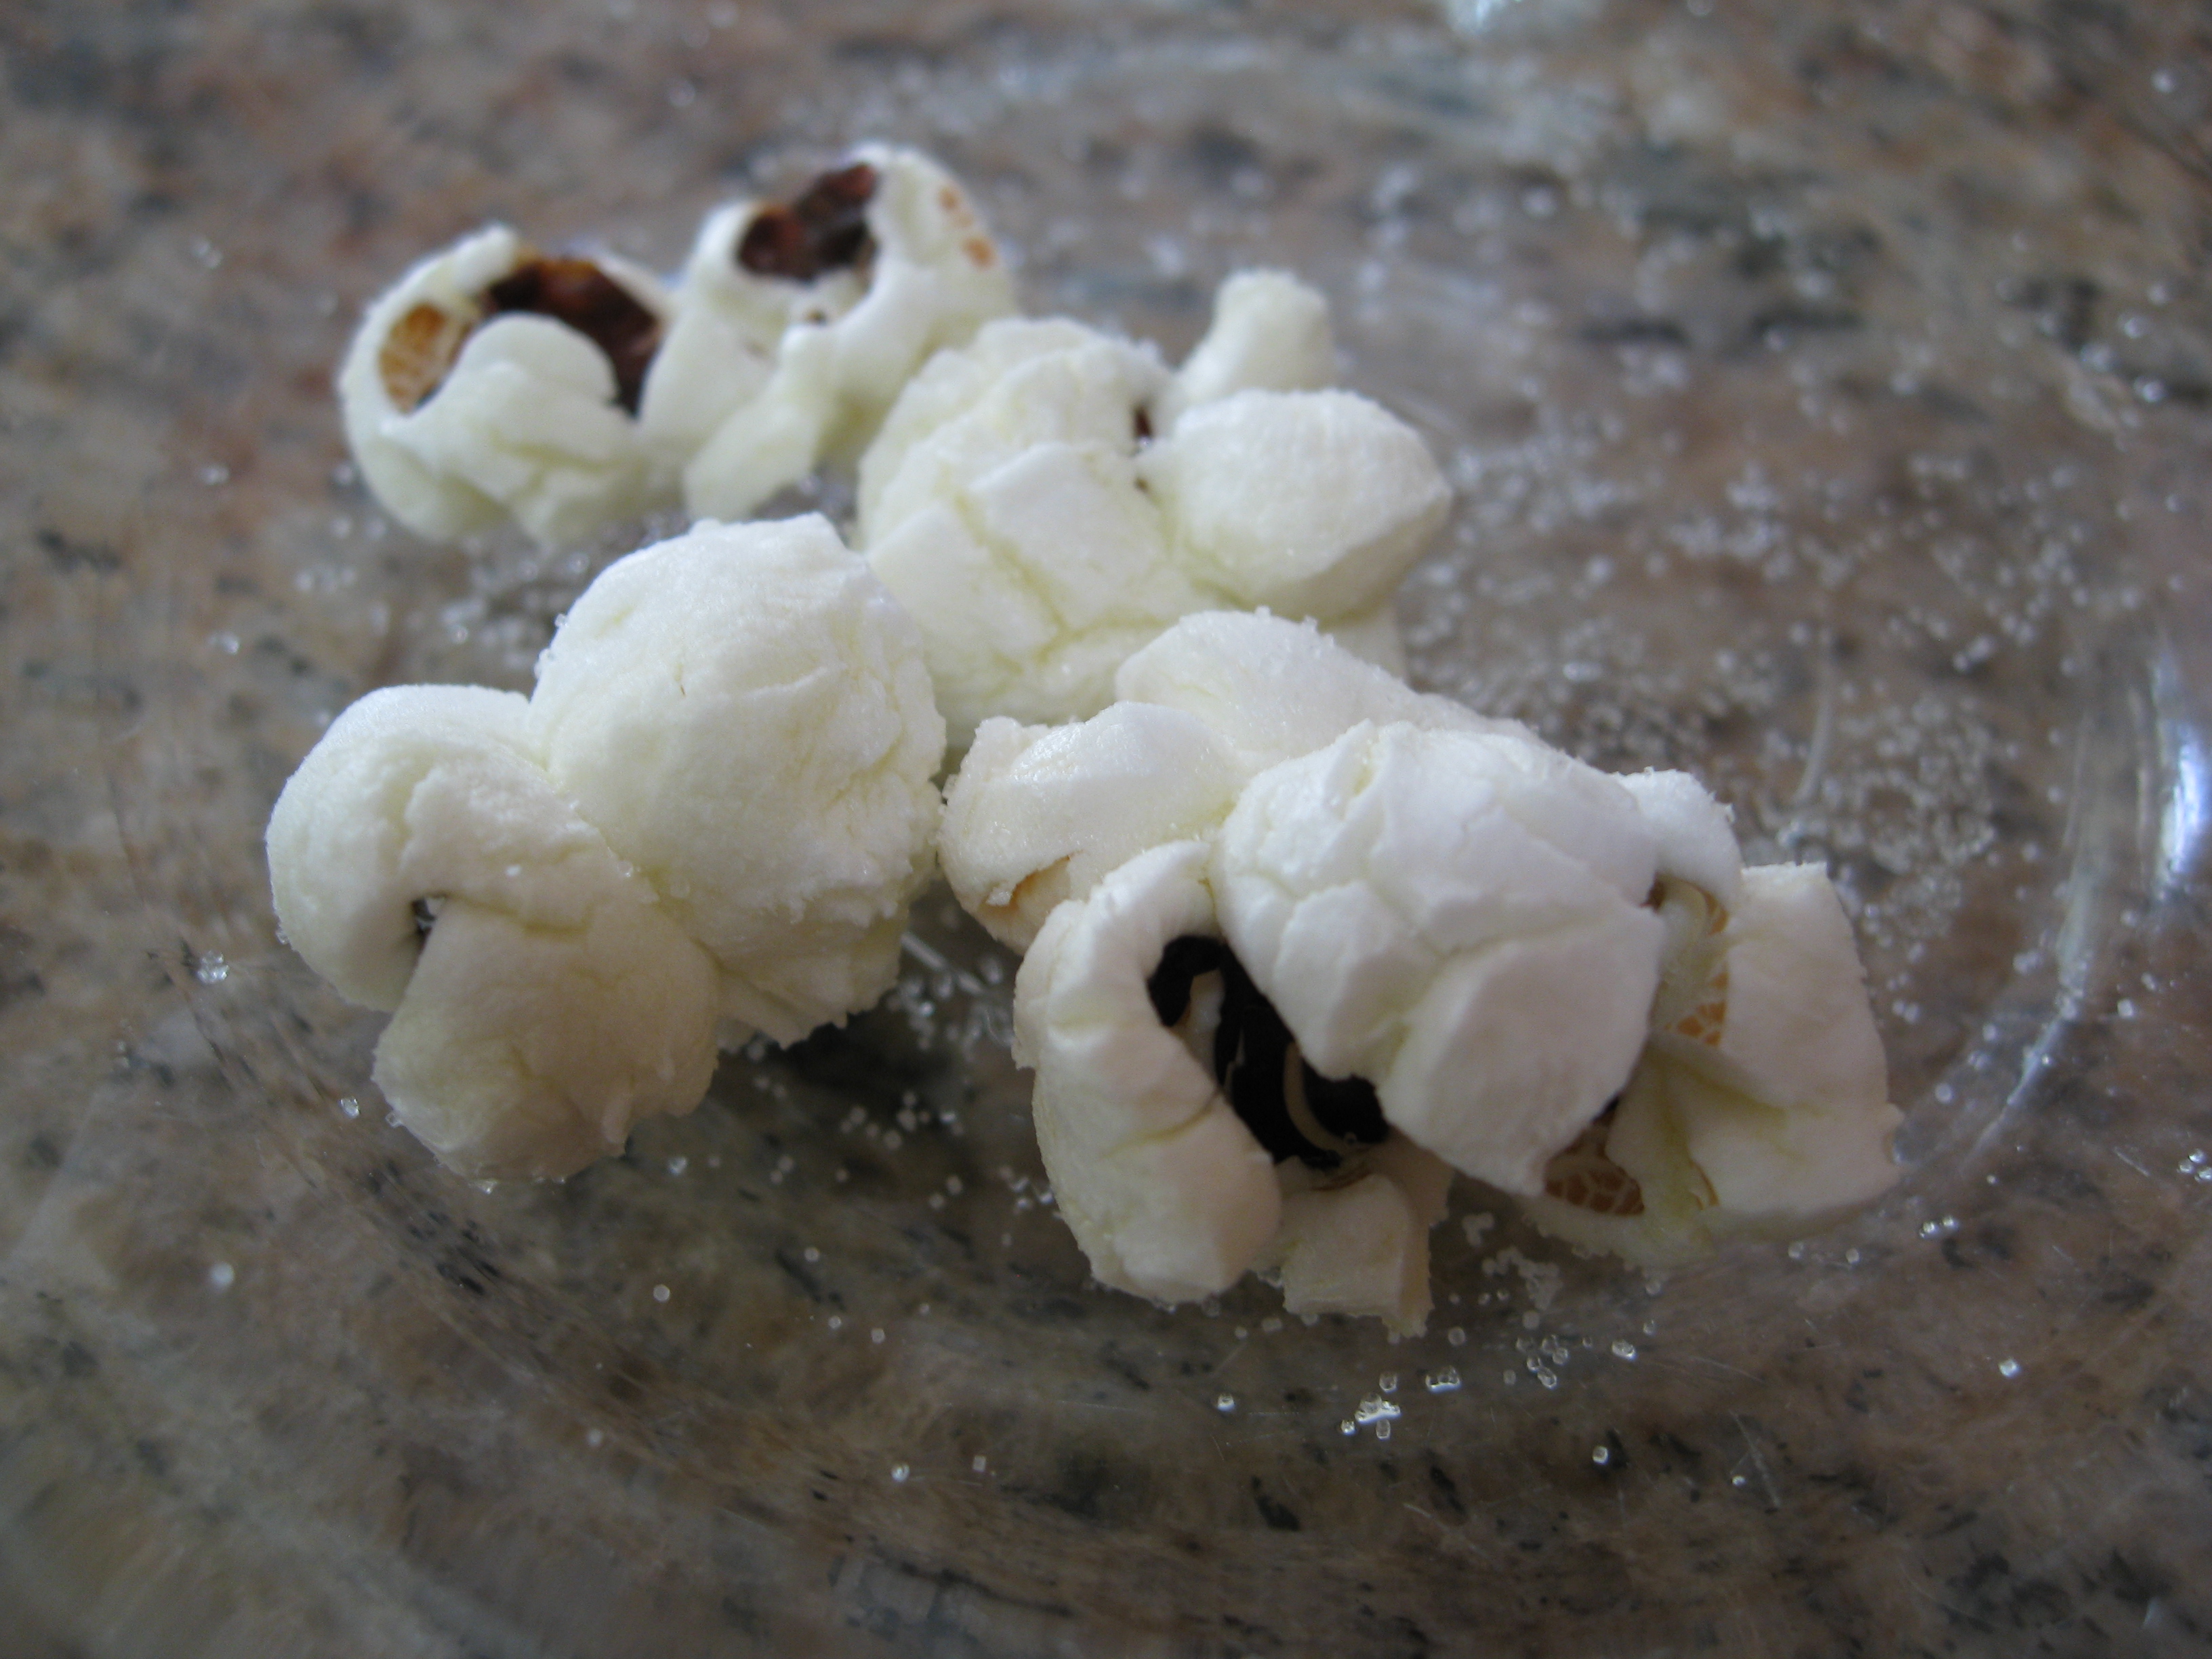
4 out of 5 kernels popped. Nearly perfect!
Delicious, crunchy and it didn’t even need butter. As with our previous experience, the kernels are softer and easier to chew than store-bought popping corn, and the best part is that there is no risk of GMO contamination since we’re growing in an urban setting far, far away from any GE crops.
Put popping corn on your list of grains to try growing at home. The rewards are great. Even the biomass left over becomes great food for your compost bin. It’s all good!


Hello,
I harvested all my beautiful Dakota Black Popcorn. I was letting it dry on the cob in the garage. It is too moist and cool and some of the ears have got a mold starting to grow on them. Is it too late to save? Could I wash it in a vinegar water solution to help kill the mold and bring in next to the wood stove to dry? The mold may taint the taste. Any suggestions?
Believe it or not, Sara, I happen to have personal experience with this problem. The first time I grew popping corn, I got excited and put it away in a lock-lid jar in the pantry. About 2 weeks later I noticed the whole jar was sprouting mold. I wasn’t about to throw away my precious crop, so I dumped the kernels out, rinsed them off, and rubbed all the mold off. I spread the kernels out on a few cookie sheets (rimmed is best) and left them out in the kitchen for 3 weeks more. Once they tested dry enough to pop (no “widows” or unpopped kernels in the test batch) then I put them in the freezer for a few days to kill off any critters. Then they went to the pantry shelf and have been fine since. The popcorn didn’t taste moldy. Give this a try and report back your findings.